
DIY FLOWER BOBBY PINS

I bought these faux flowers a few months back for this DIY but never got around to it. Story of my life! When I got home, I placed them in a DIY vase and really liked how it looked in my girl cave so decided I’d keep them there for the Winter.
Anywhoo, I’ve been going through some of my old photos and realized I have quite a few DIY projects I promised you all (over the last few years 🙈) and haven’t completed them so I decided this won’t be one. So without further delay, here’s a quick tutorial on how to make these pretty pansy hair pins.
p.s. I plan to tackle many of my outstanding DIYs as well, so stay tuned for those!
SUPPLIES

- Faux Flowers
- Scissors
- Bobby Pins
- Felt
- Glue gun (not pictured)
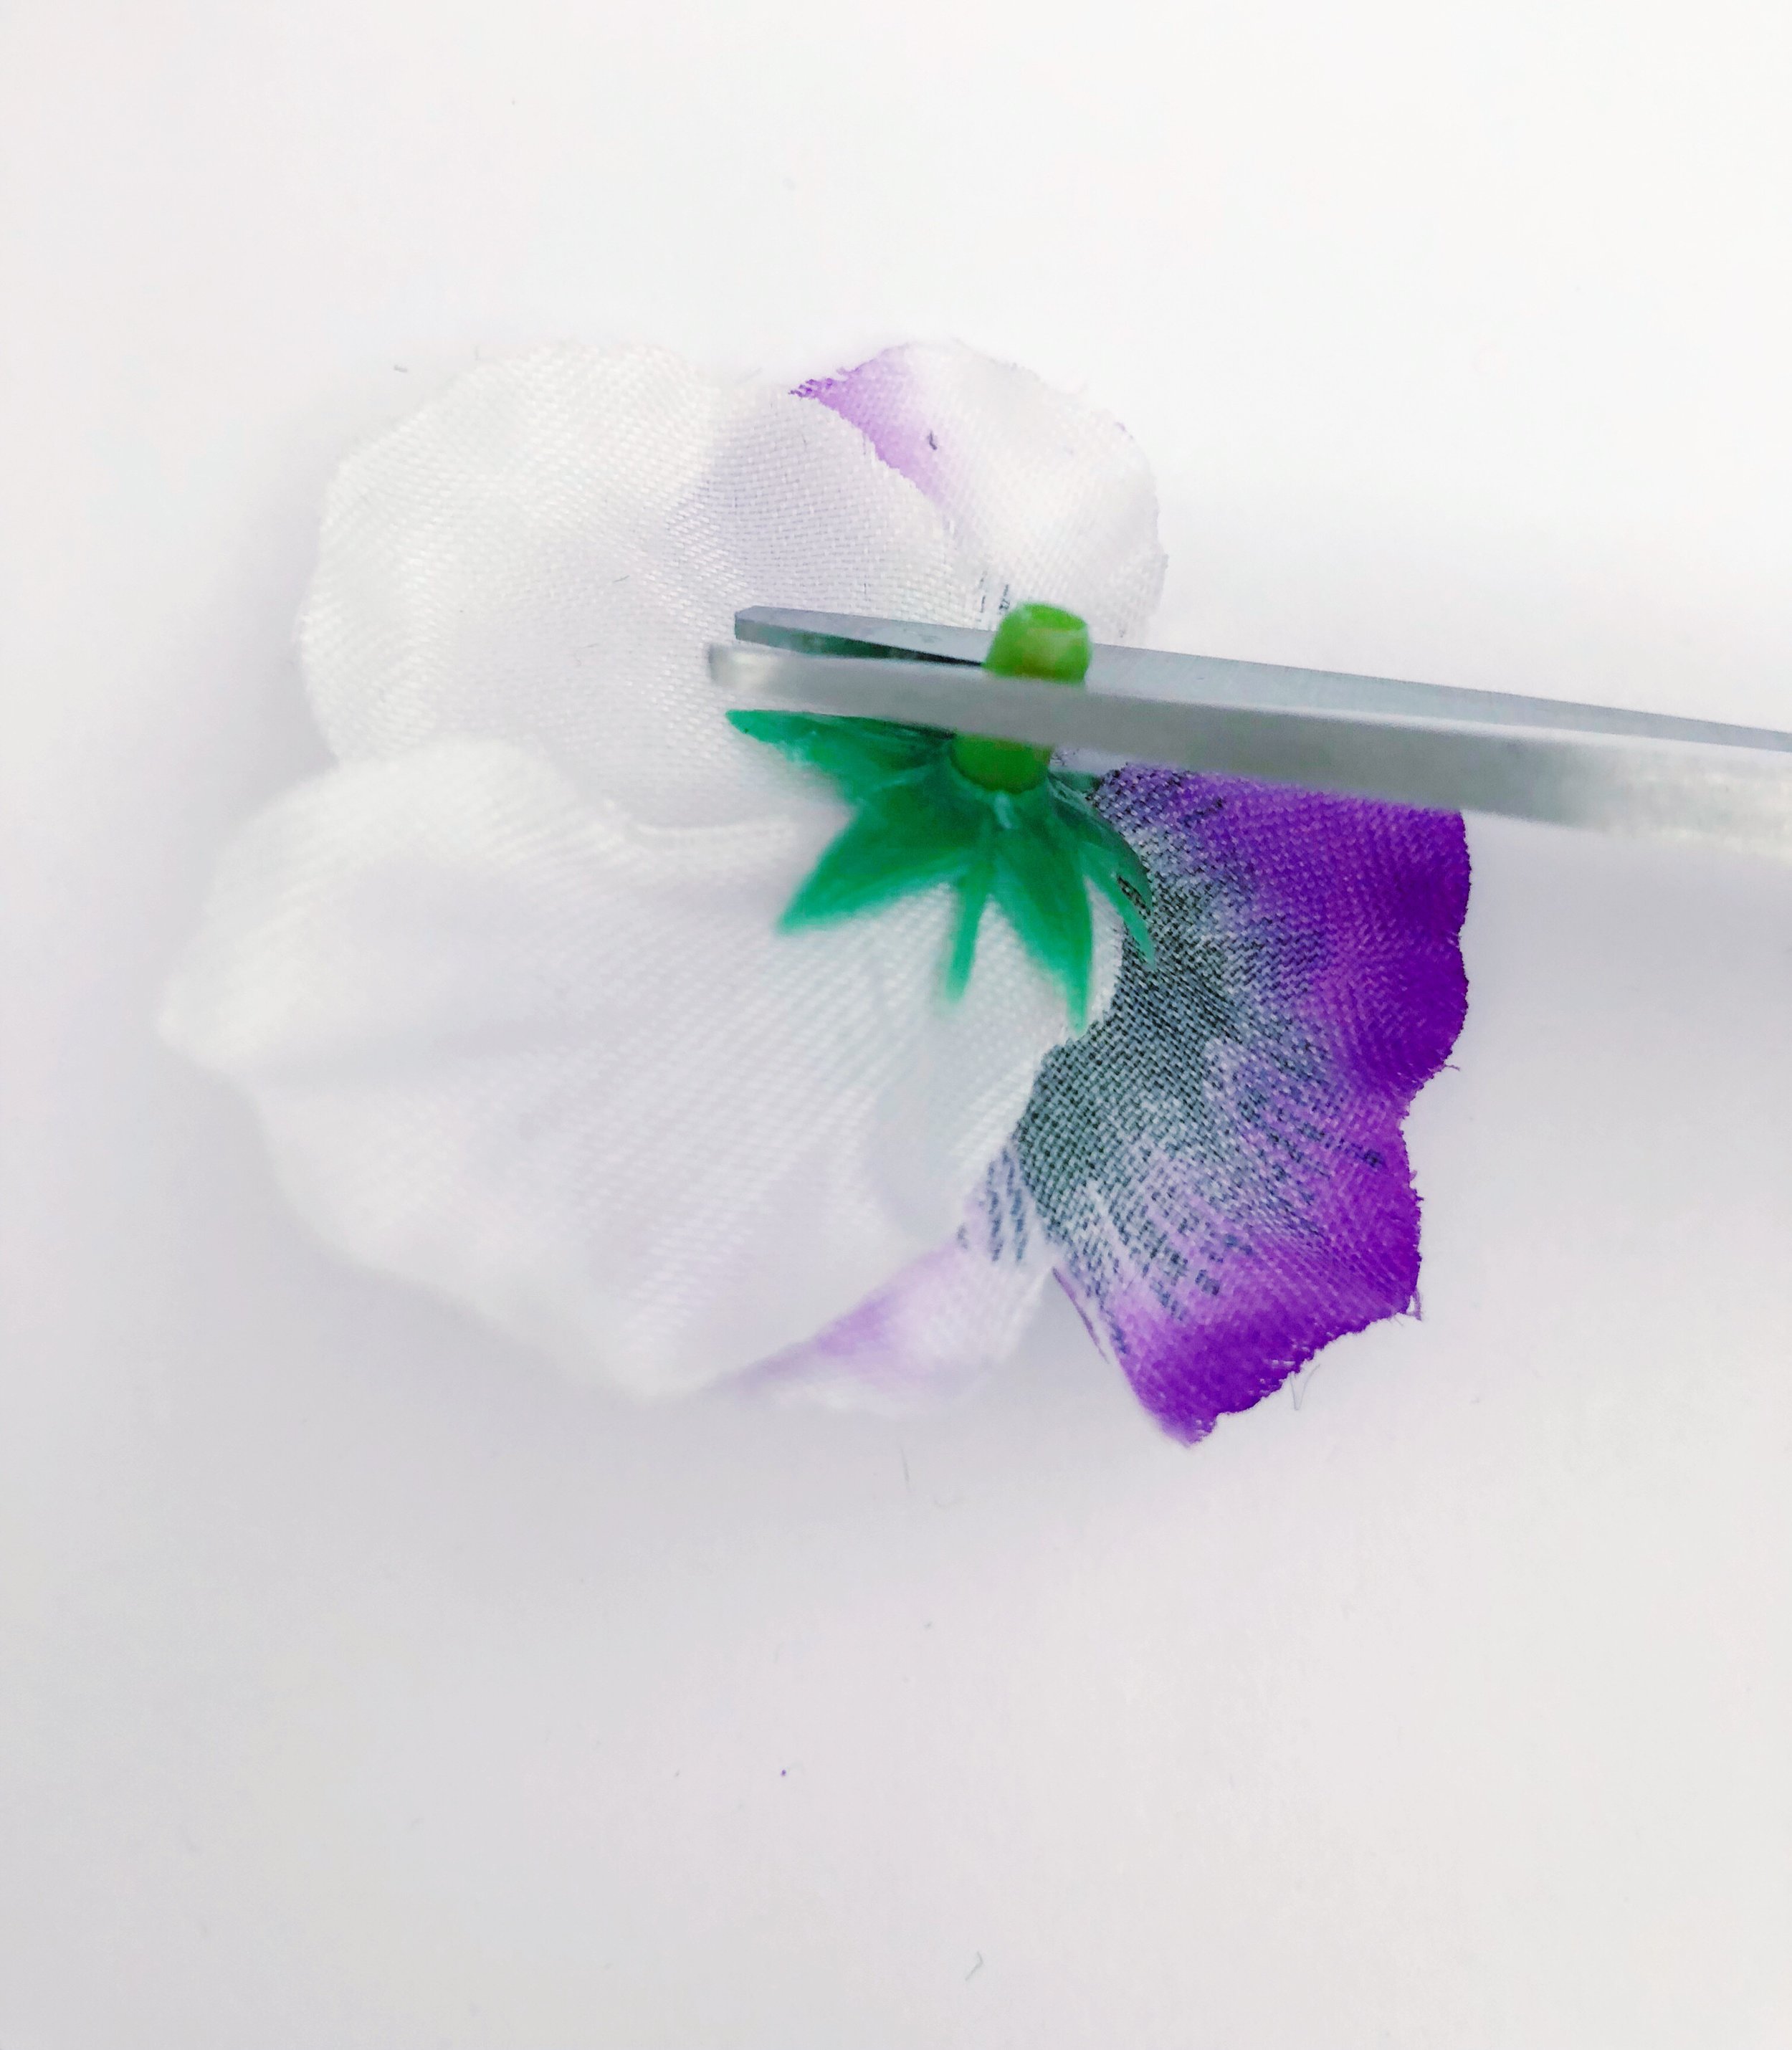
STEP 1
Remove the desired flowers from the stems and trim the little plastic attachement with scissors. This will help the flower to lay flat on your pin.

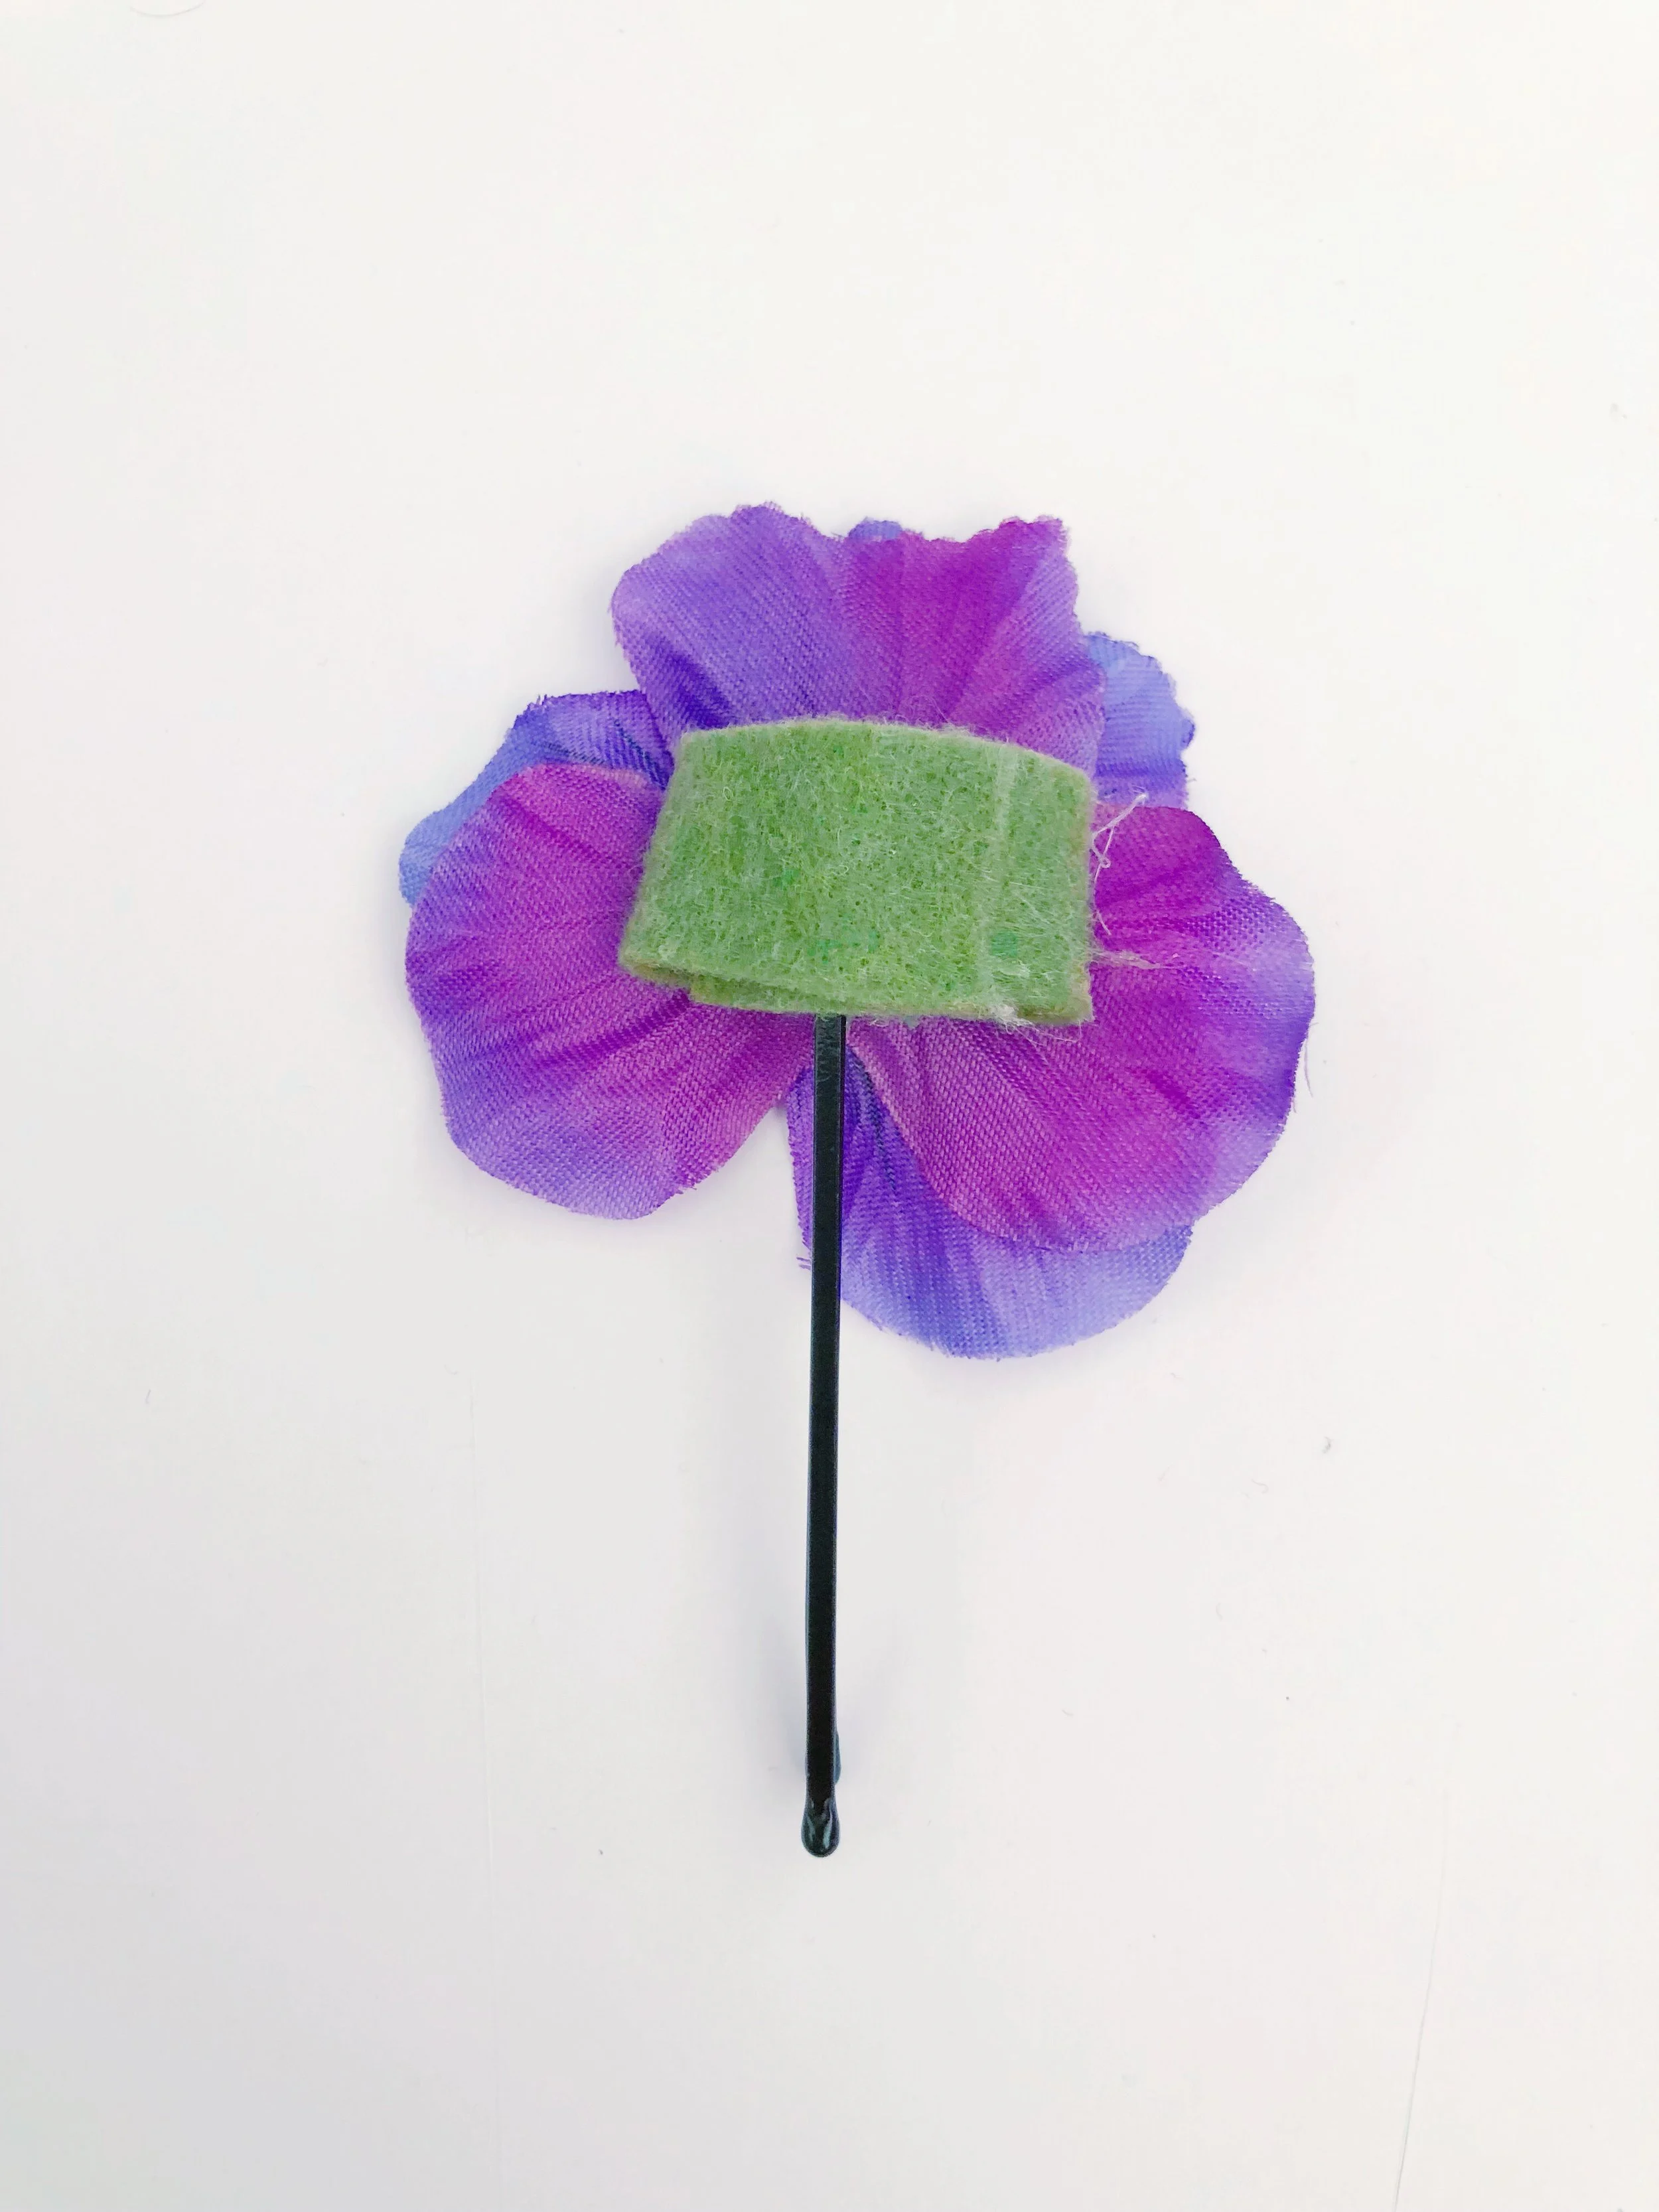
STEP 2
Feed a small rectangular piece of felt through your bobby pin then apply a bit of hot glue on top and secure your flower in the glue. Ensure your bobby pin is facing the correct direction as well.

STEP 3
Once your flower is glued in place, flip over so that you’re seeing the back of the flower.
STEP 4
You can choose to snip off the ends at this point but I decided to fold them inward and secure with a bit more glue.
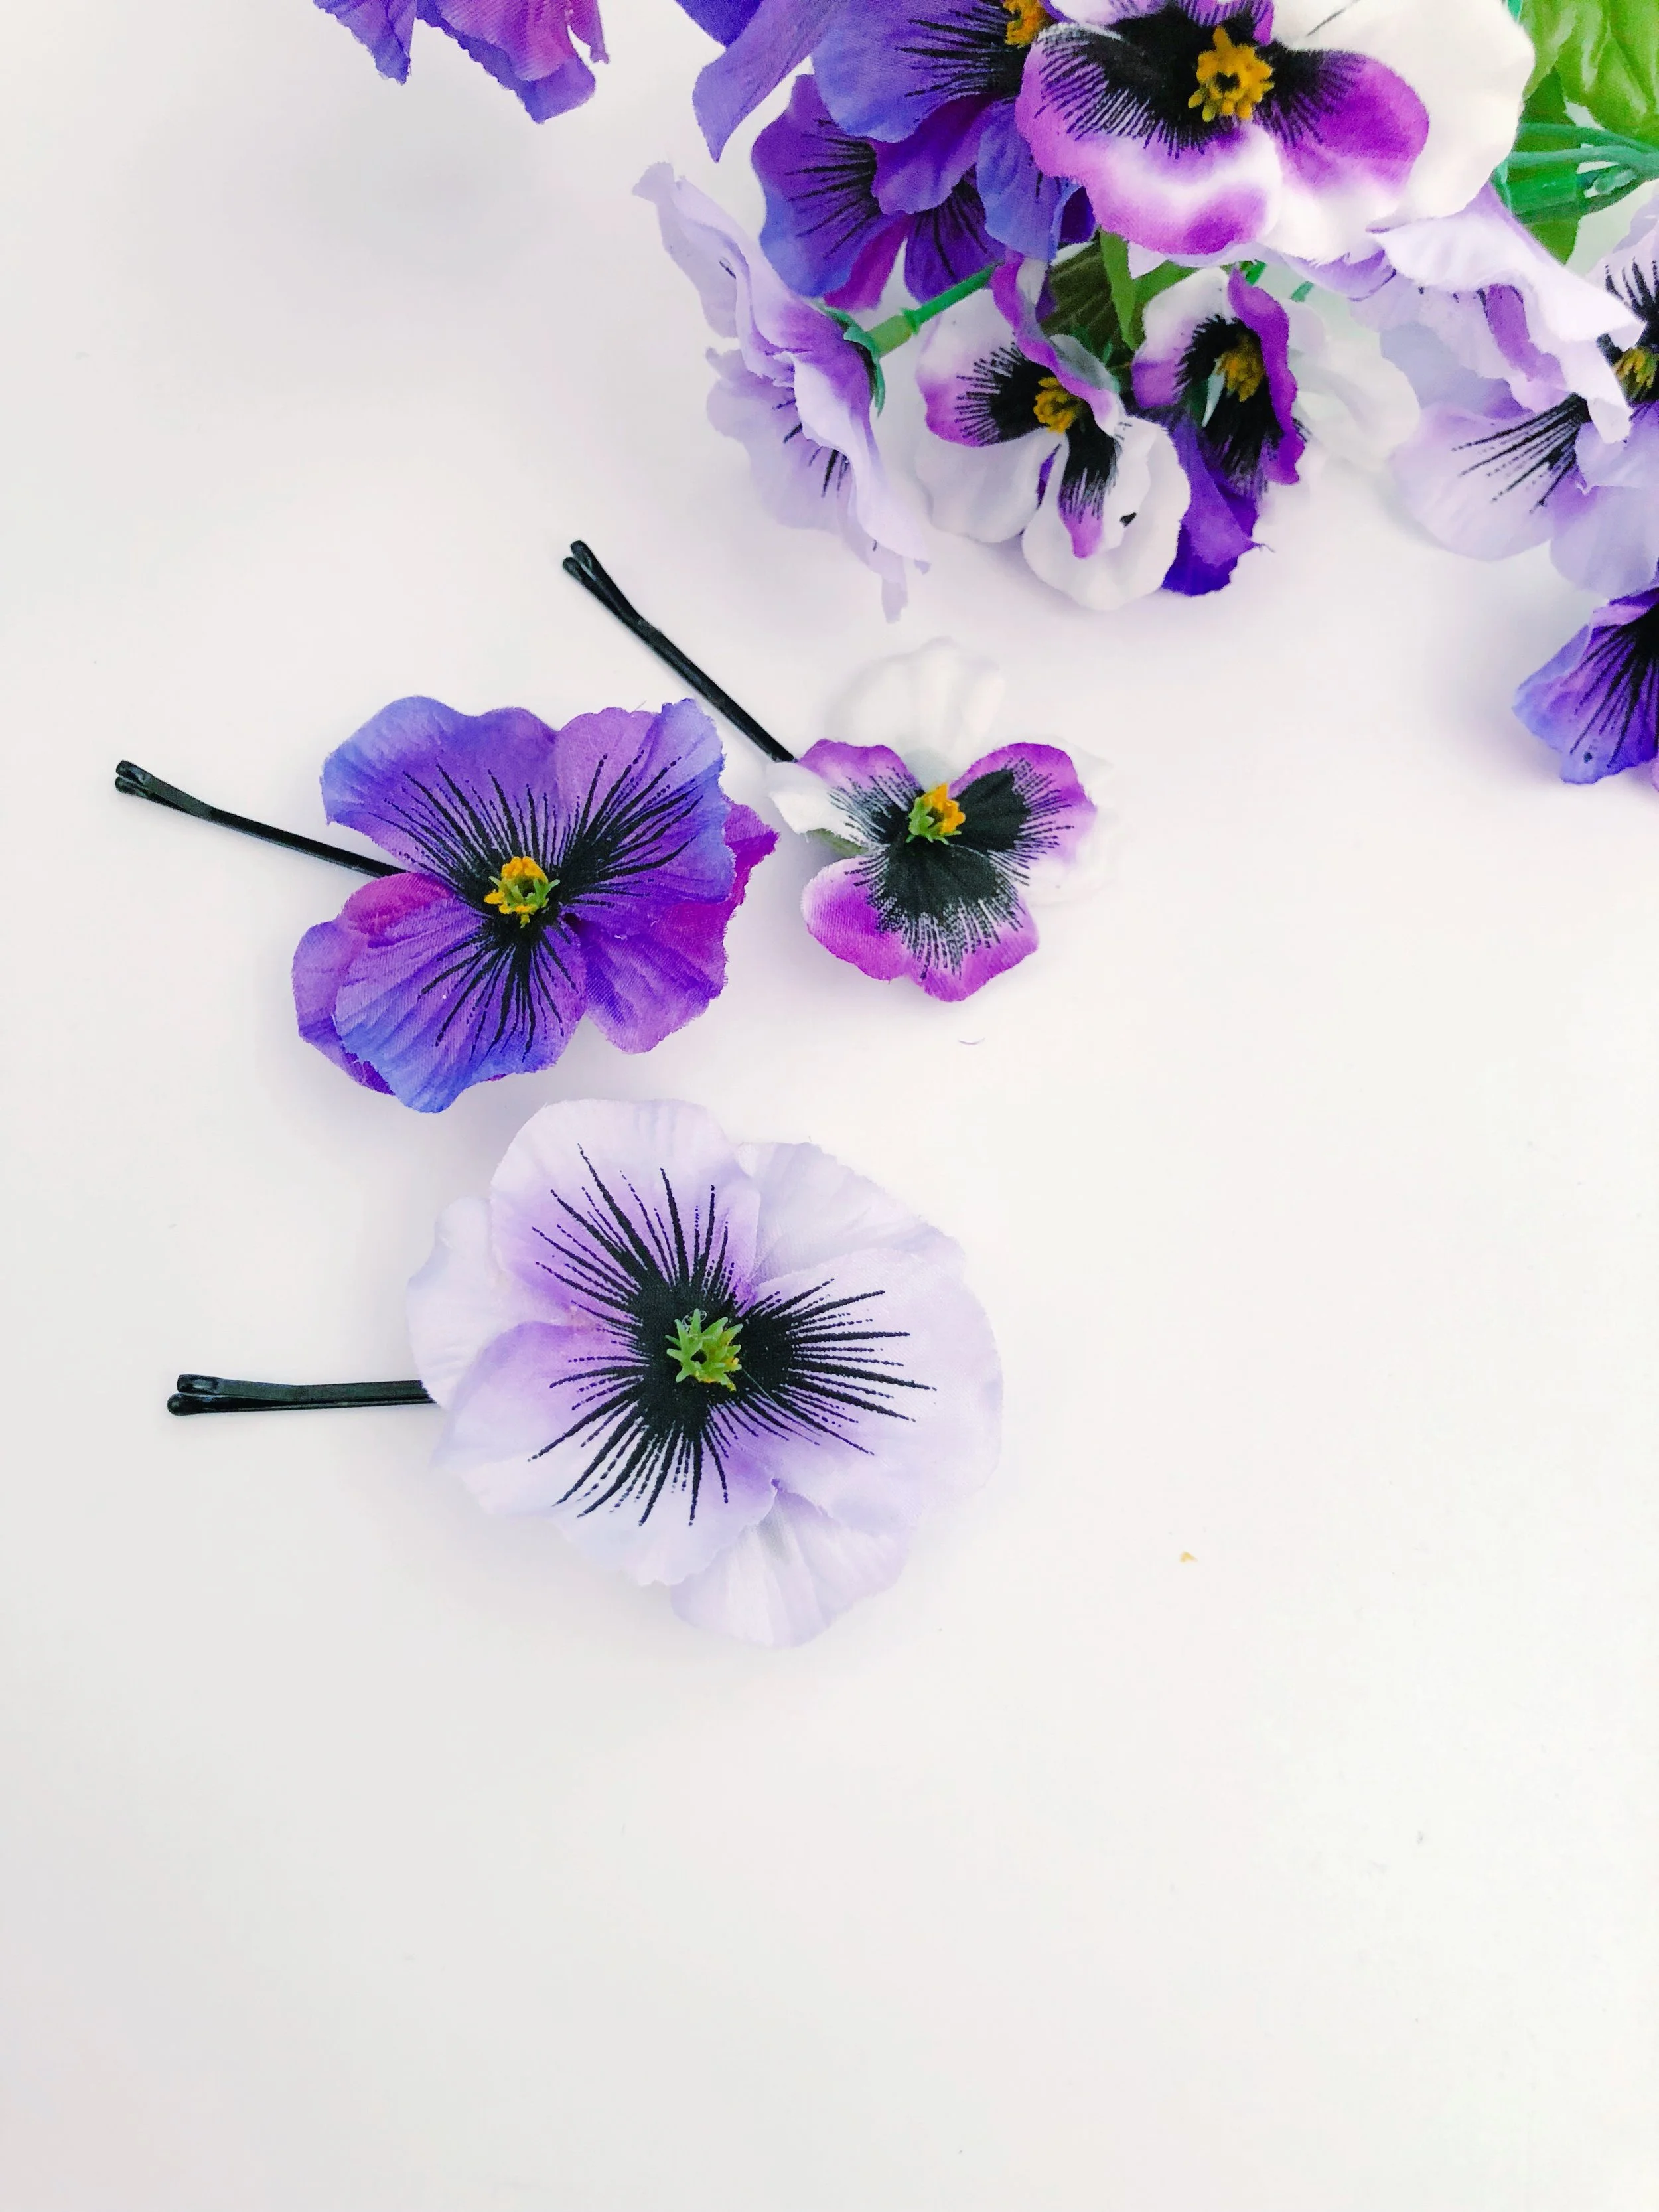
Ta-da! Flower bobby pins are ready to use. Now, I’m off to make more with some other flowers!