
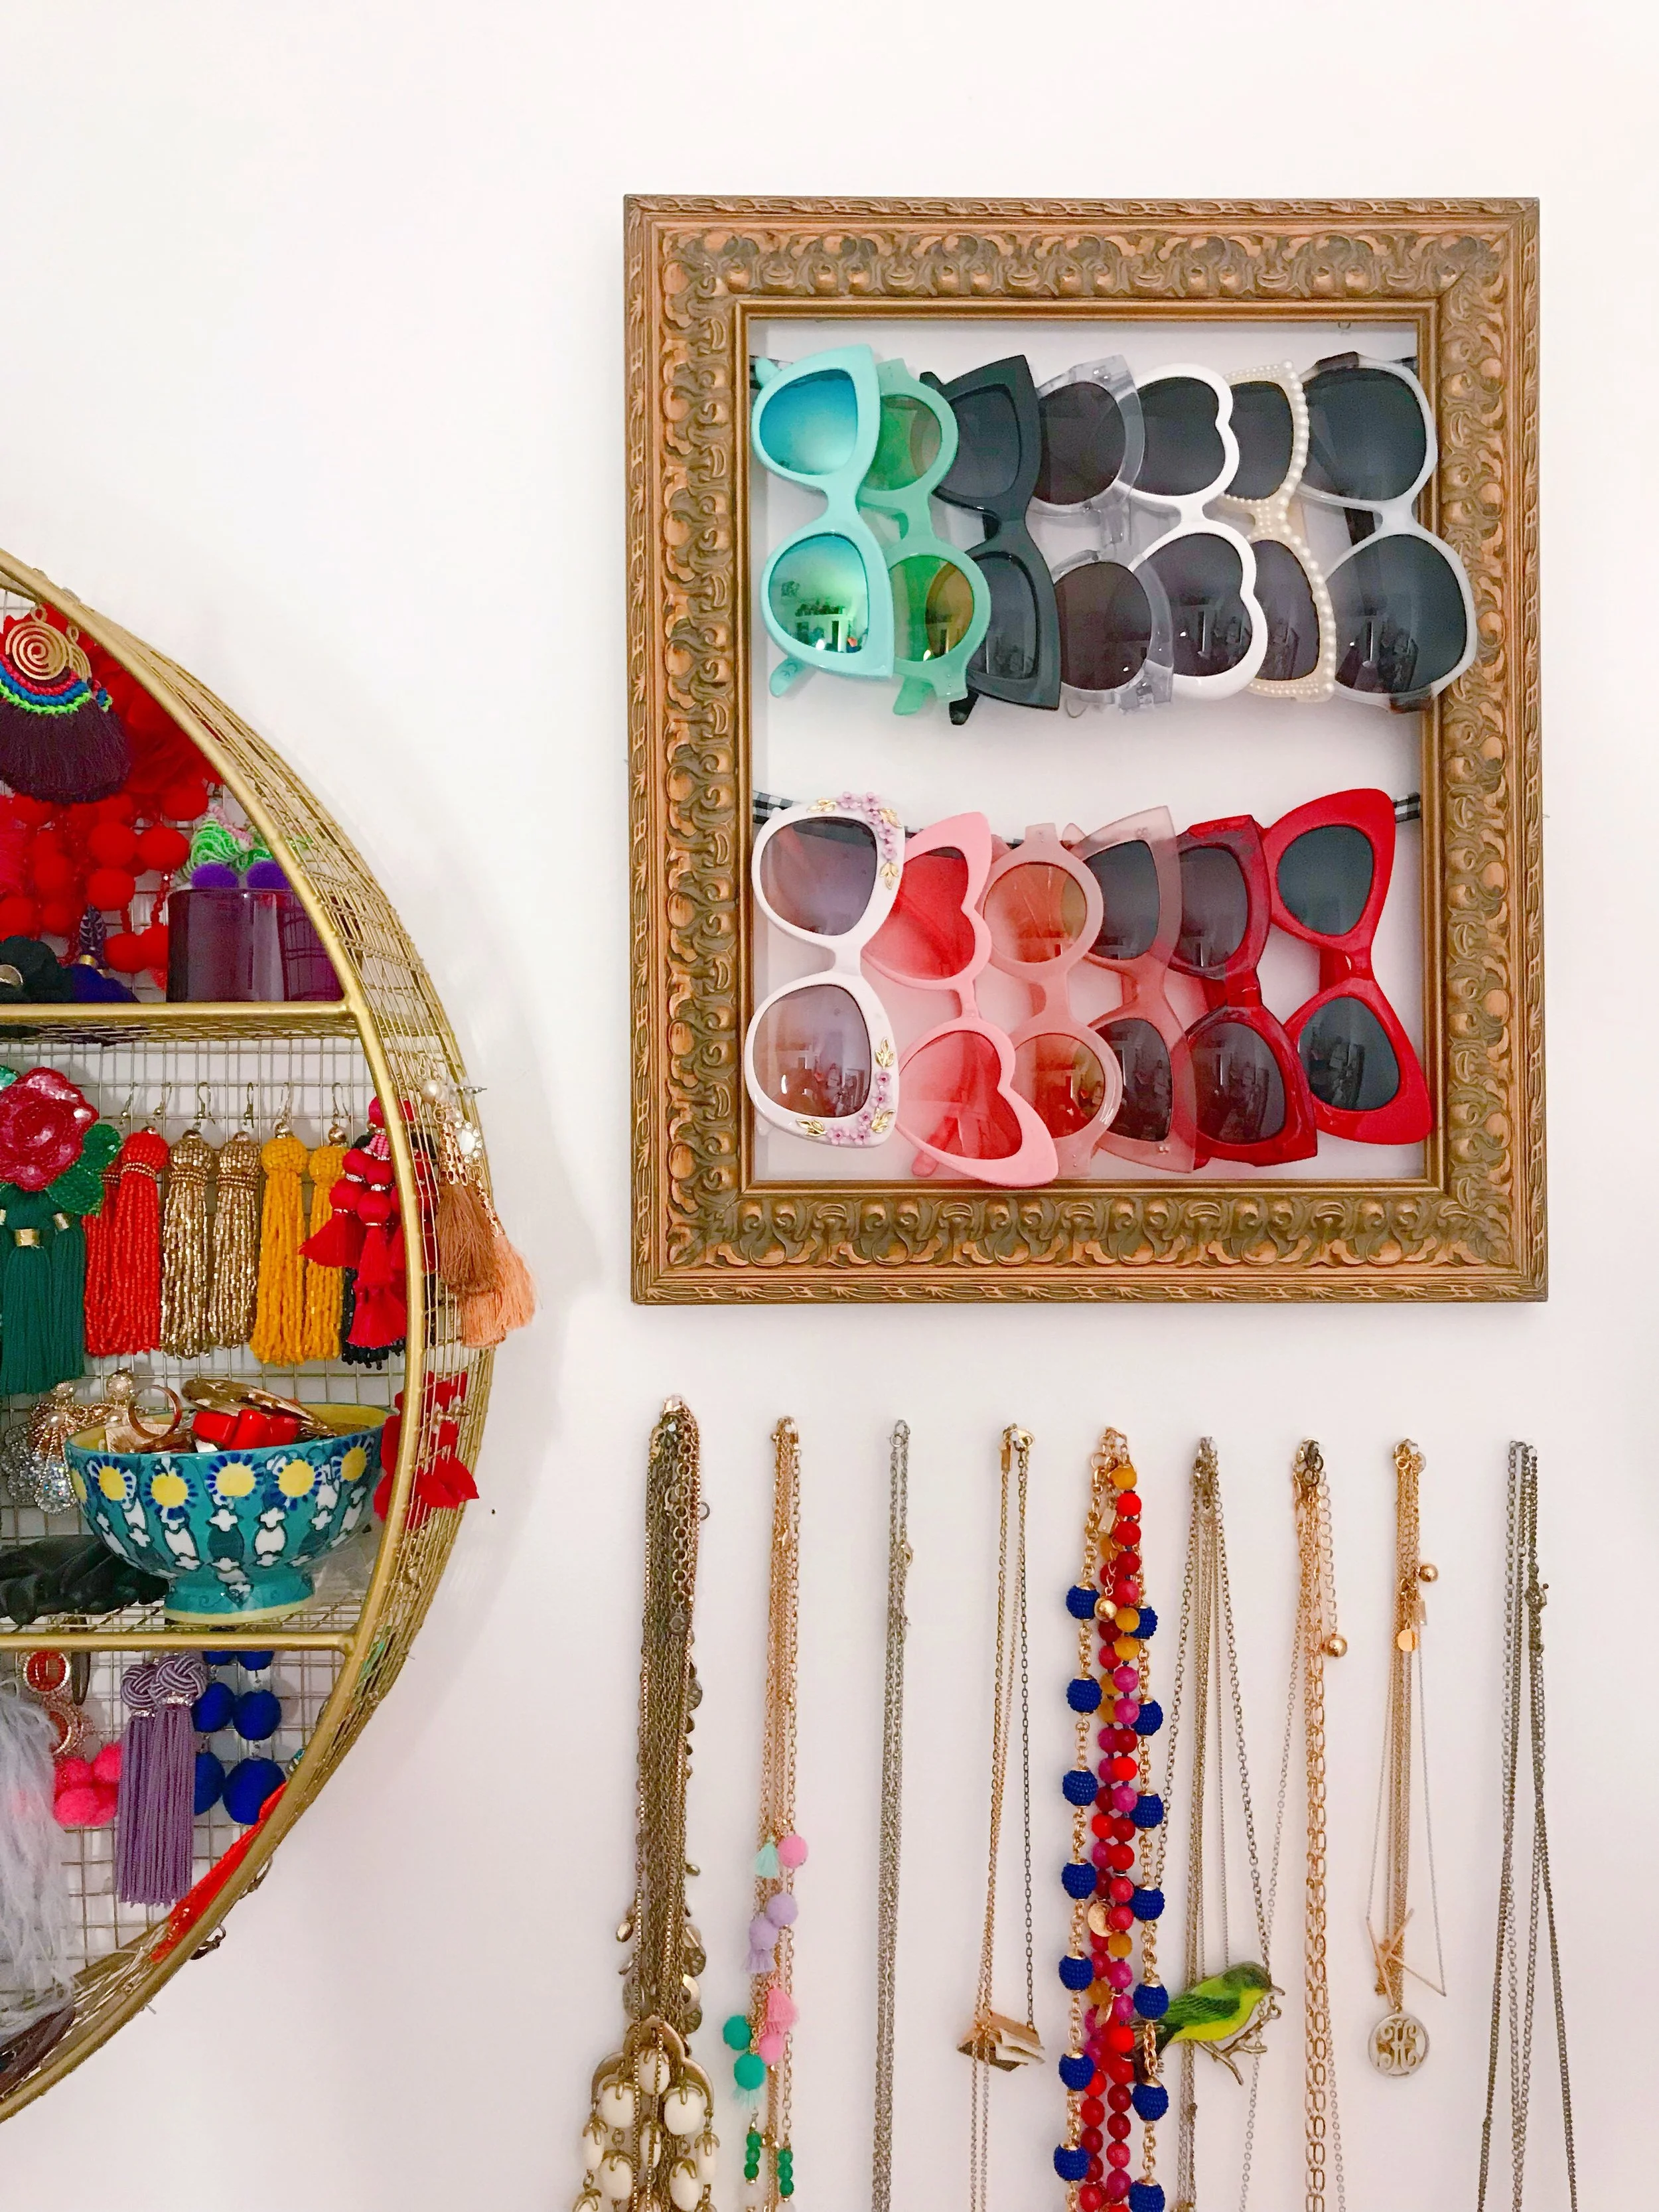
DIY SUNGLASSES STORAGE FRAME
Sunglasses! Every girl needs a pair or 50, right?!
If you’re like me then you probably have multiple pairs of sunnies in your accessory collection but how many times do you wish they were on display so you could easily match to an outfit, grab and go?
I know some gals keep a little display case on their vanity but I didn’t want to take up space on top of mine so while making over my craft room aka girl/babe cave I decided to turn this inexpensive frame into a sunglasses display & storage solution.
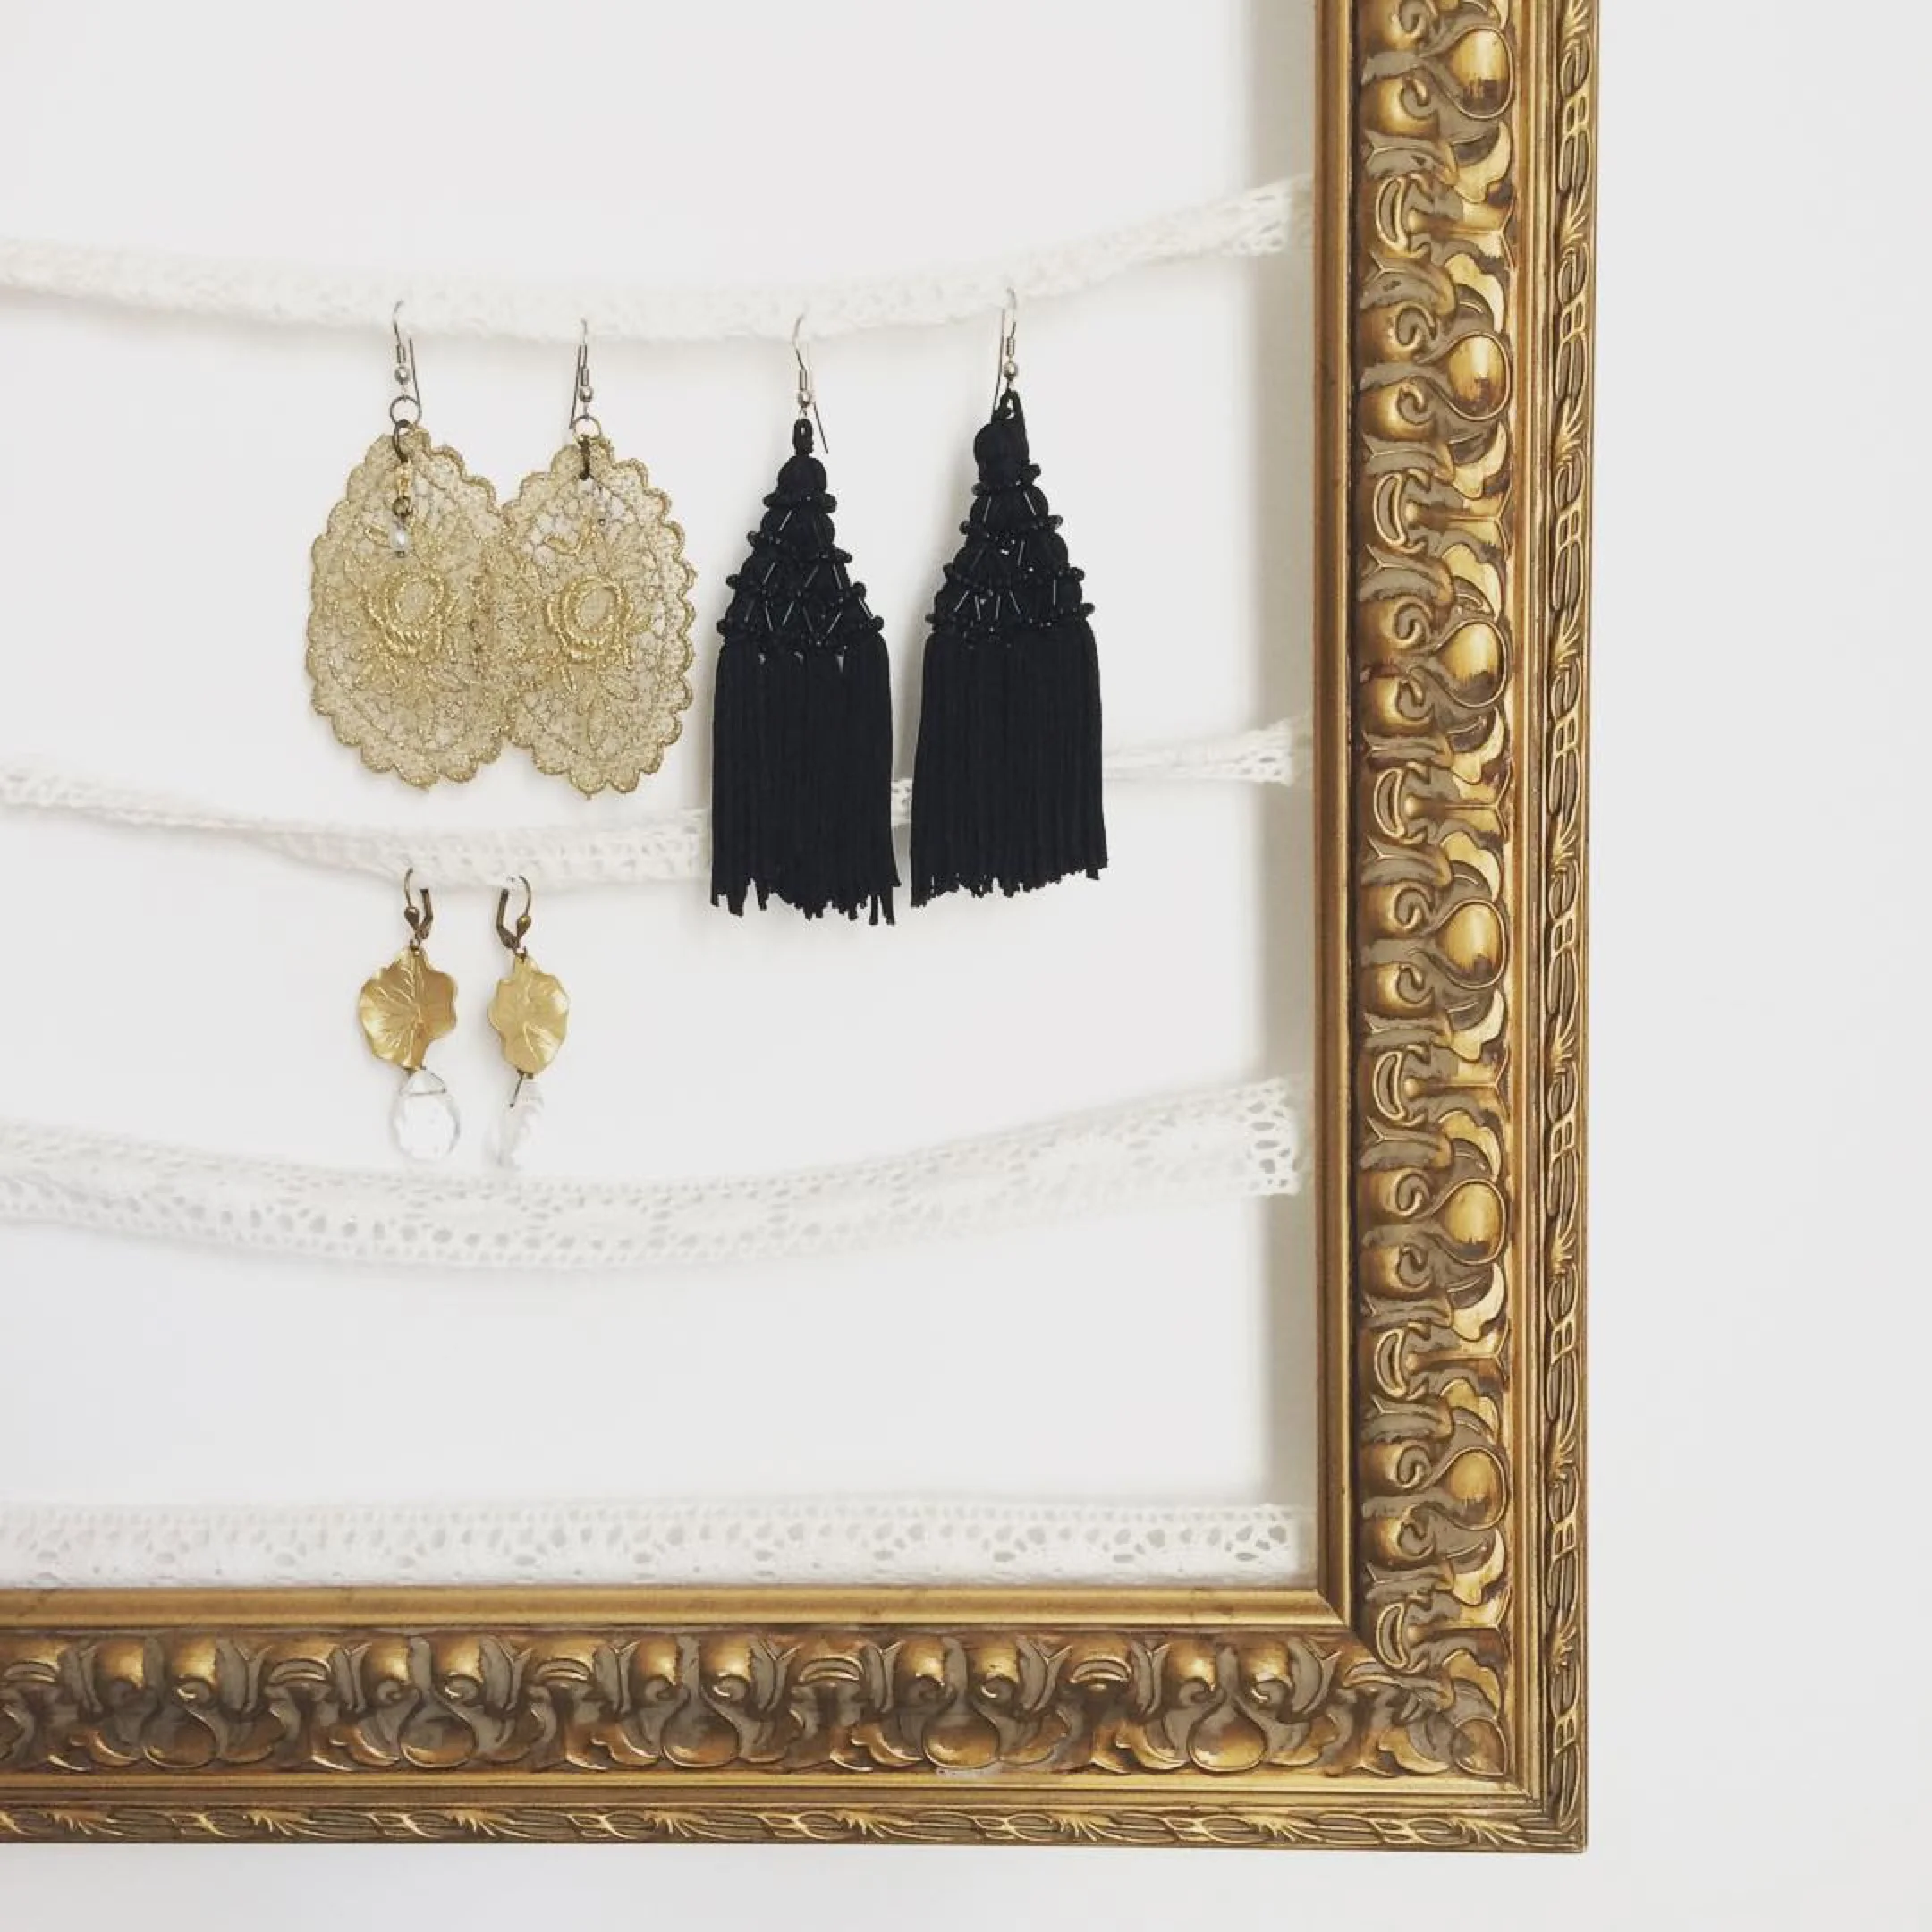
Close up of the earring frame after years of use. Needed a makeover! Also those were earrings I handmade for my accessory collection back in the day.
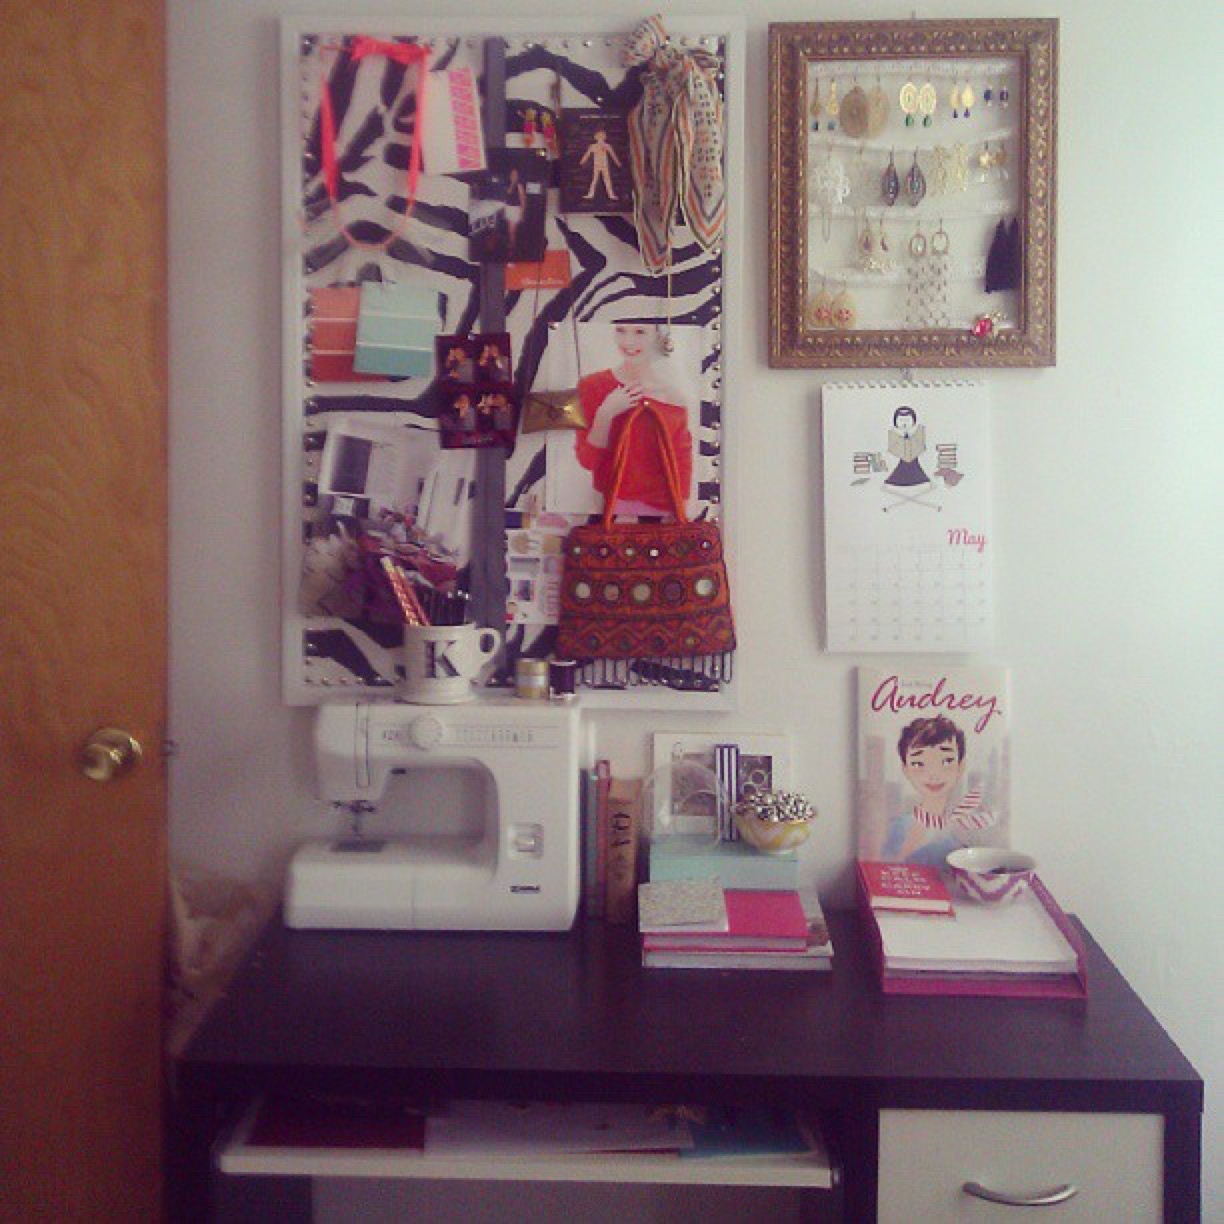
My craft room in our NJ house back in 2010. Pulled this grainy image from my IG account, haha!
I originally DIYed this frame to display earrings (as pictured above) from my very own handmade accessory collection back when I had an Etsy Shop and had planned to re-do it recently but with new jewelry solutions in place in my new space, I decided it would be the perfect sunnie solution. Not to mention, I love displaying my accessories and incorporating them into my space as decor so this frame would keep all the cuties out as eye-candy.
Alright, enough chit chat, let’s jump into the DIY.
SUPPLIES
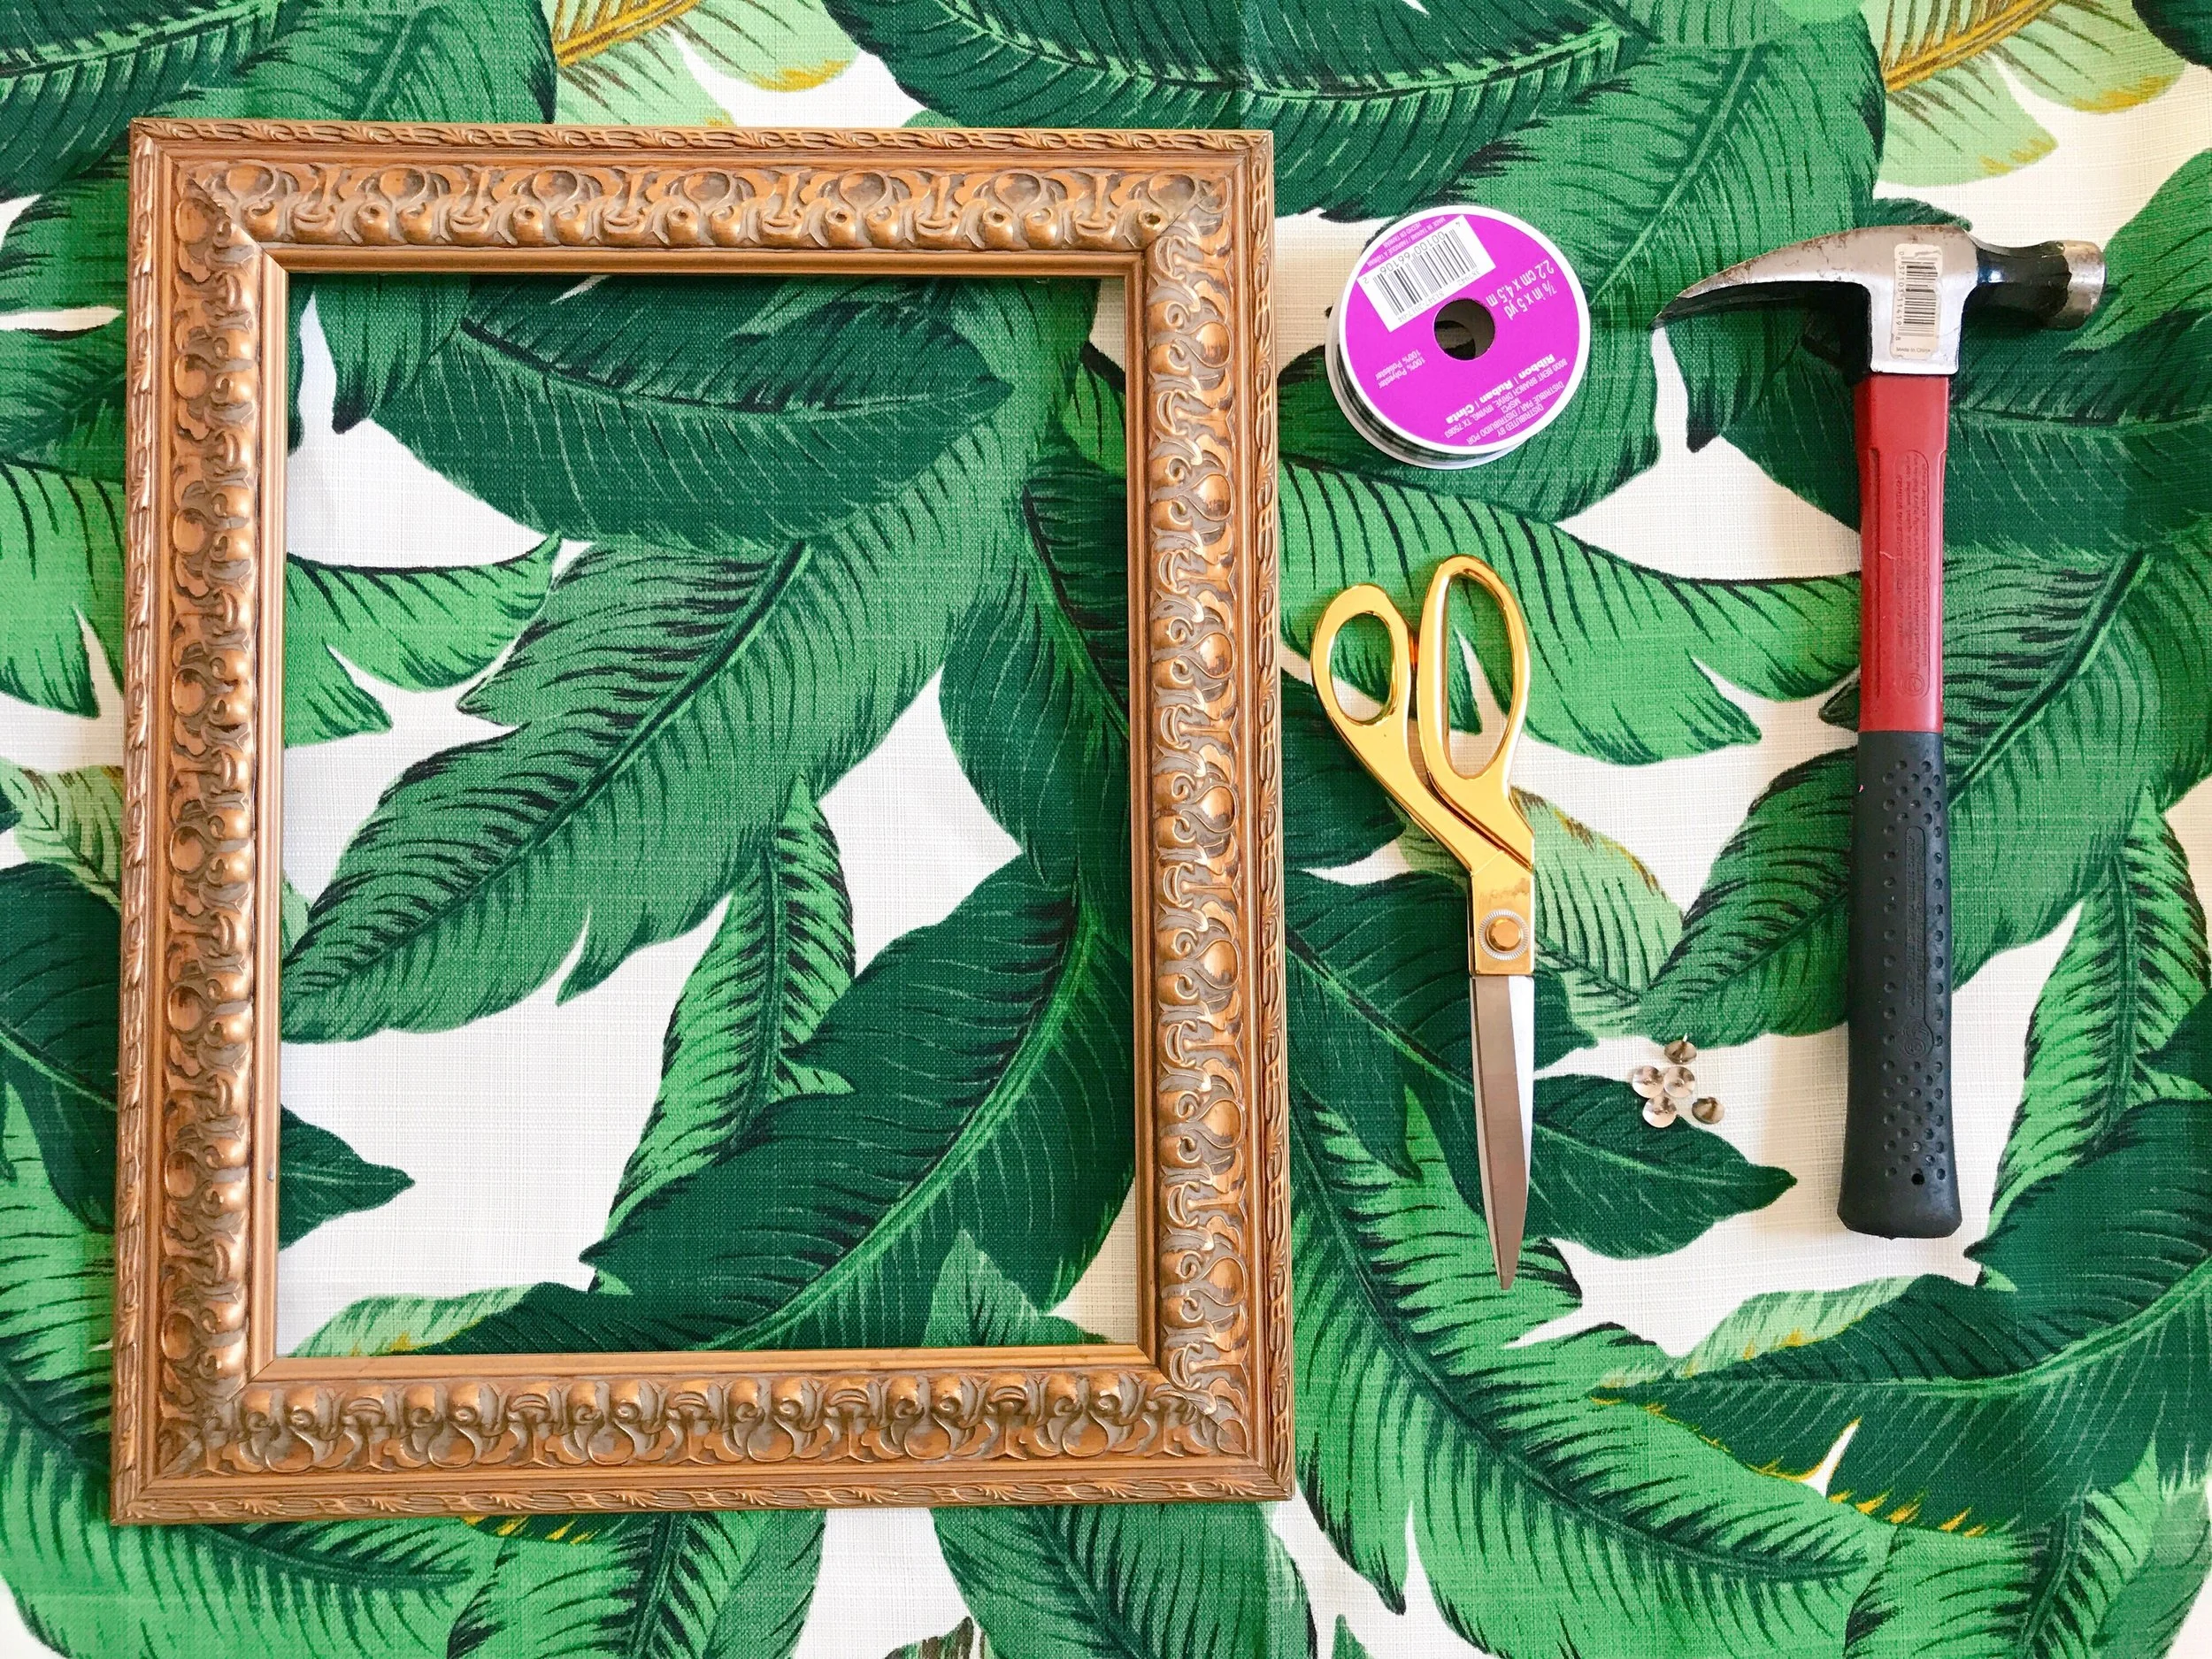
STEP 1
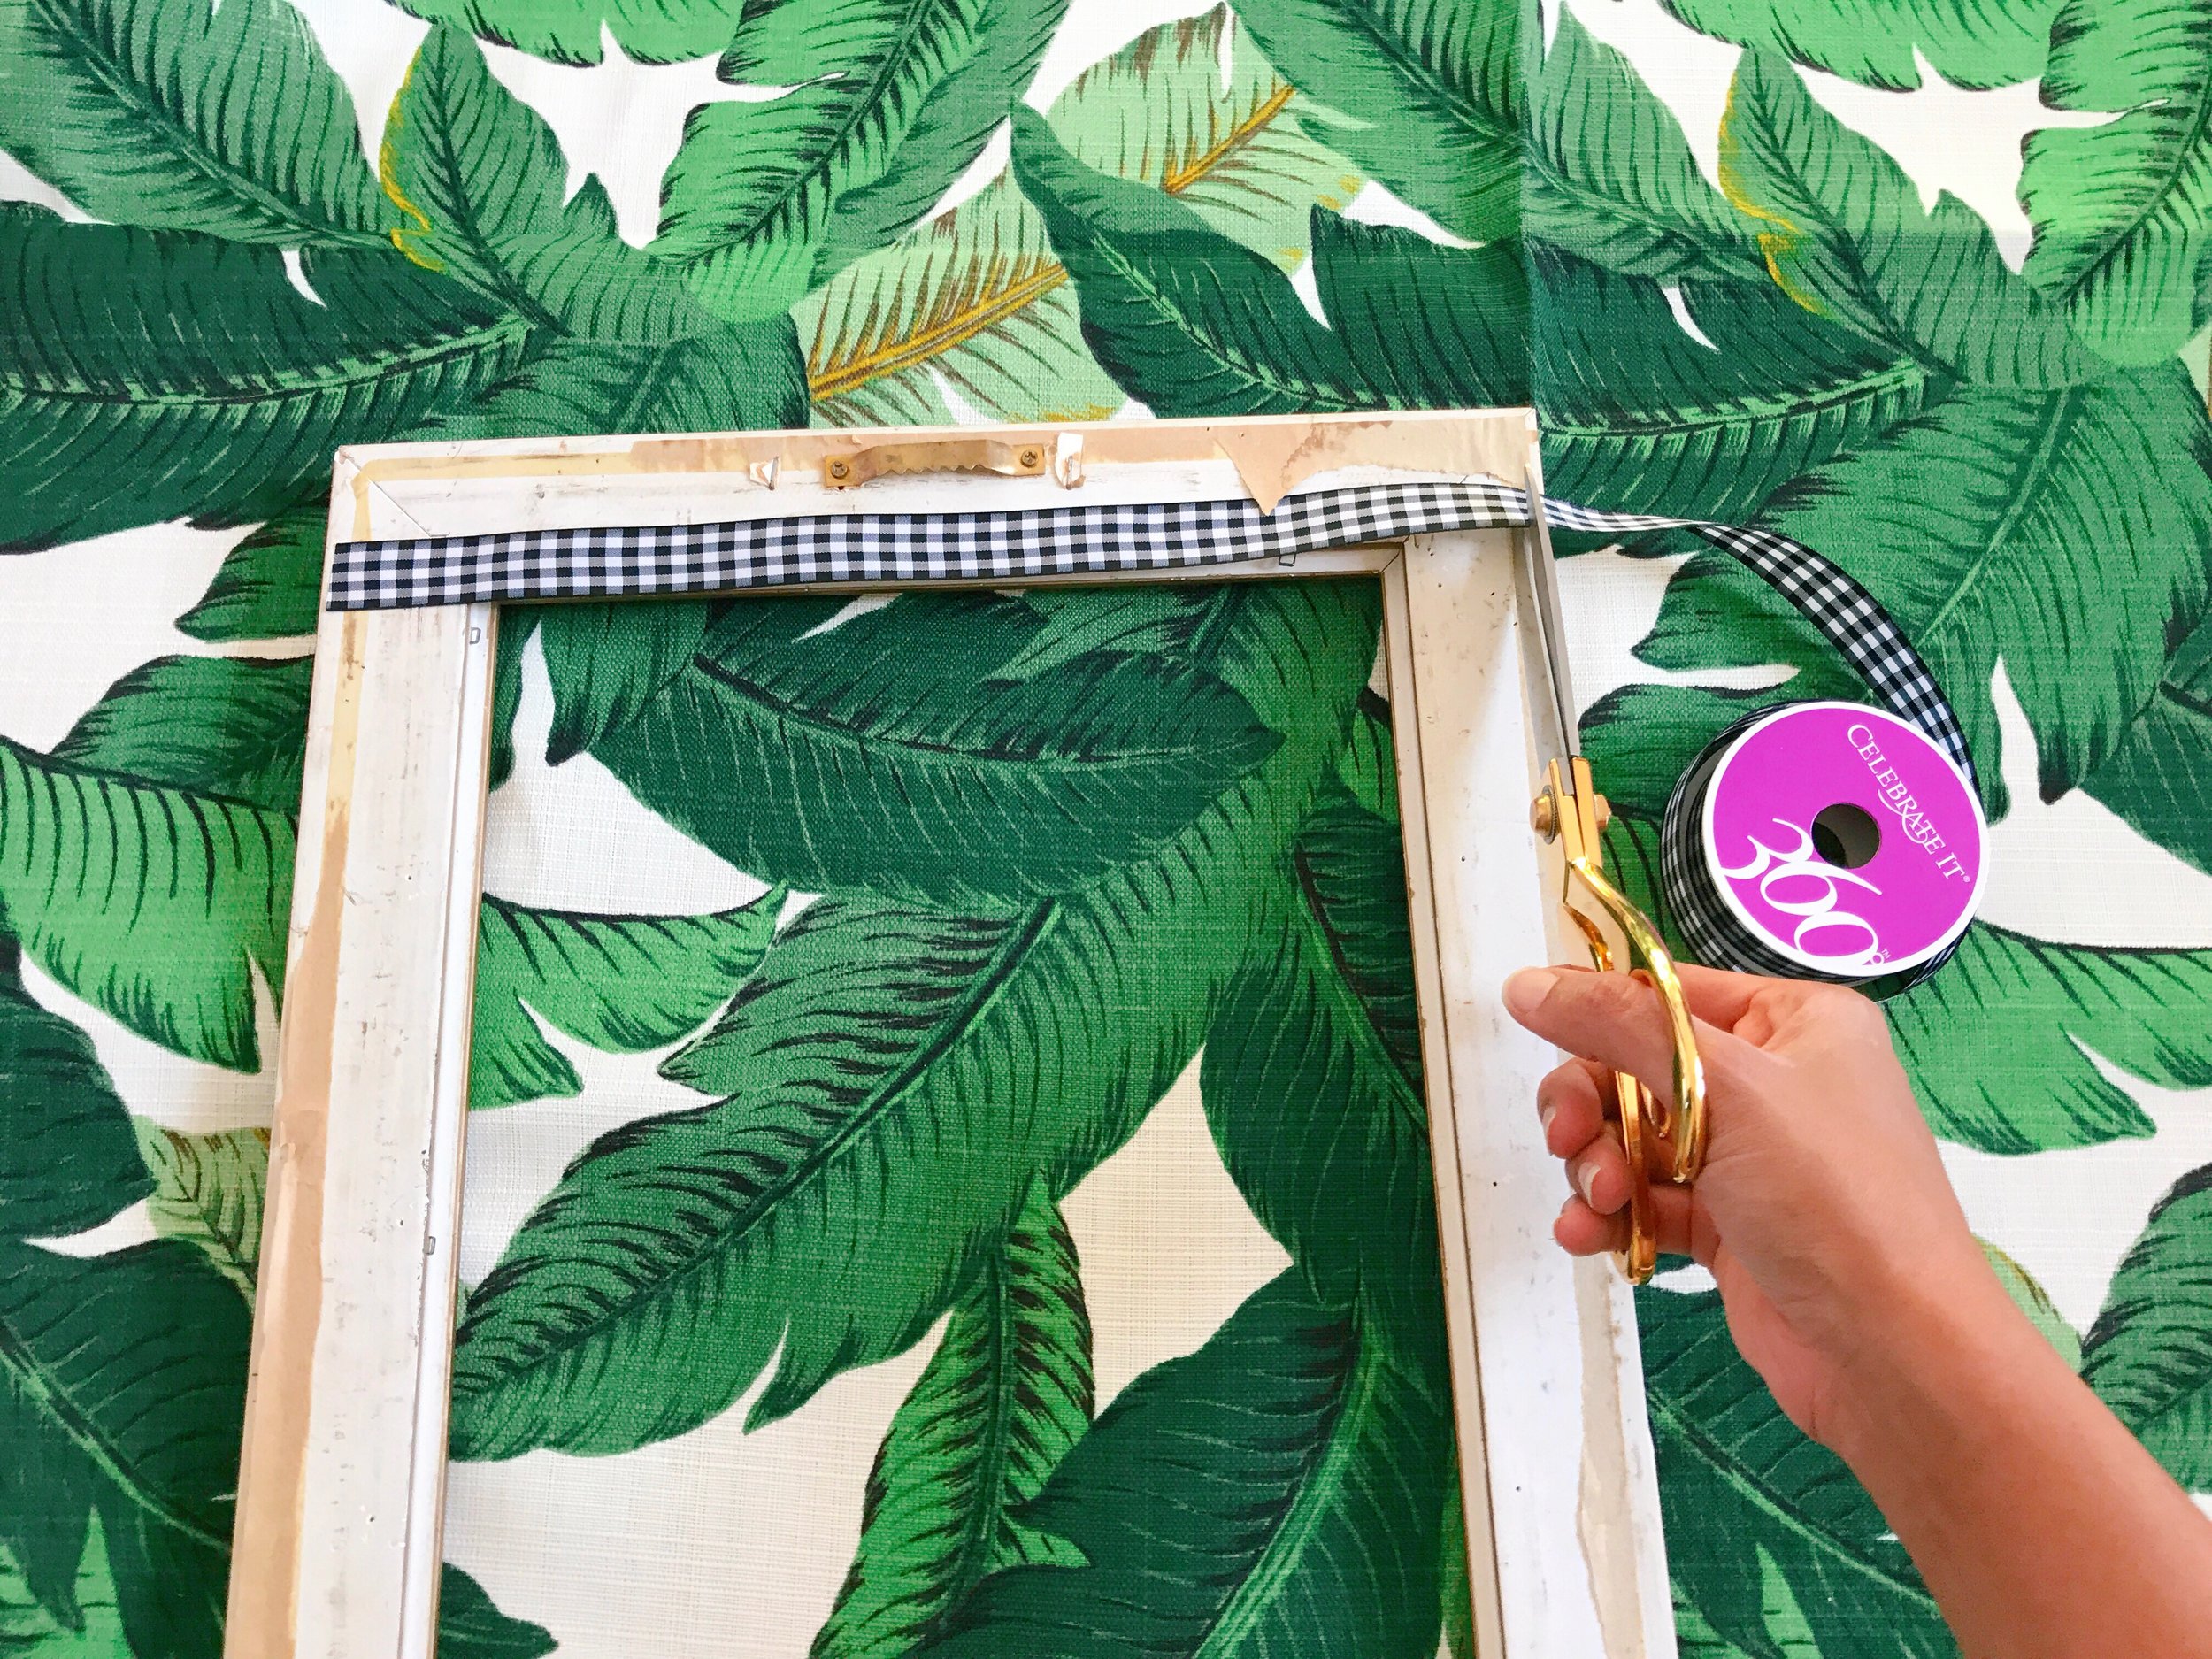
Flip your frame then measure and cut a length of ribbon to secure to the back of the frame.
STEP 2
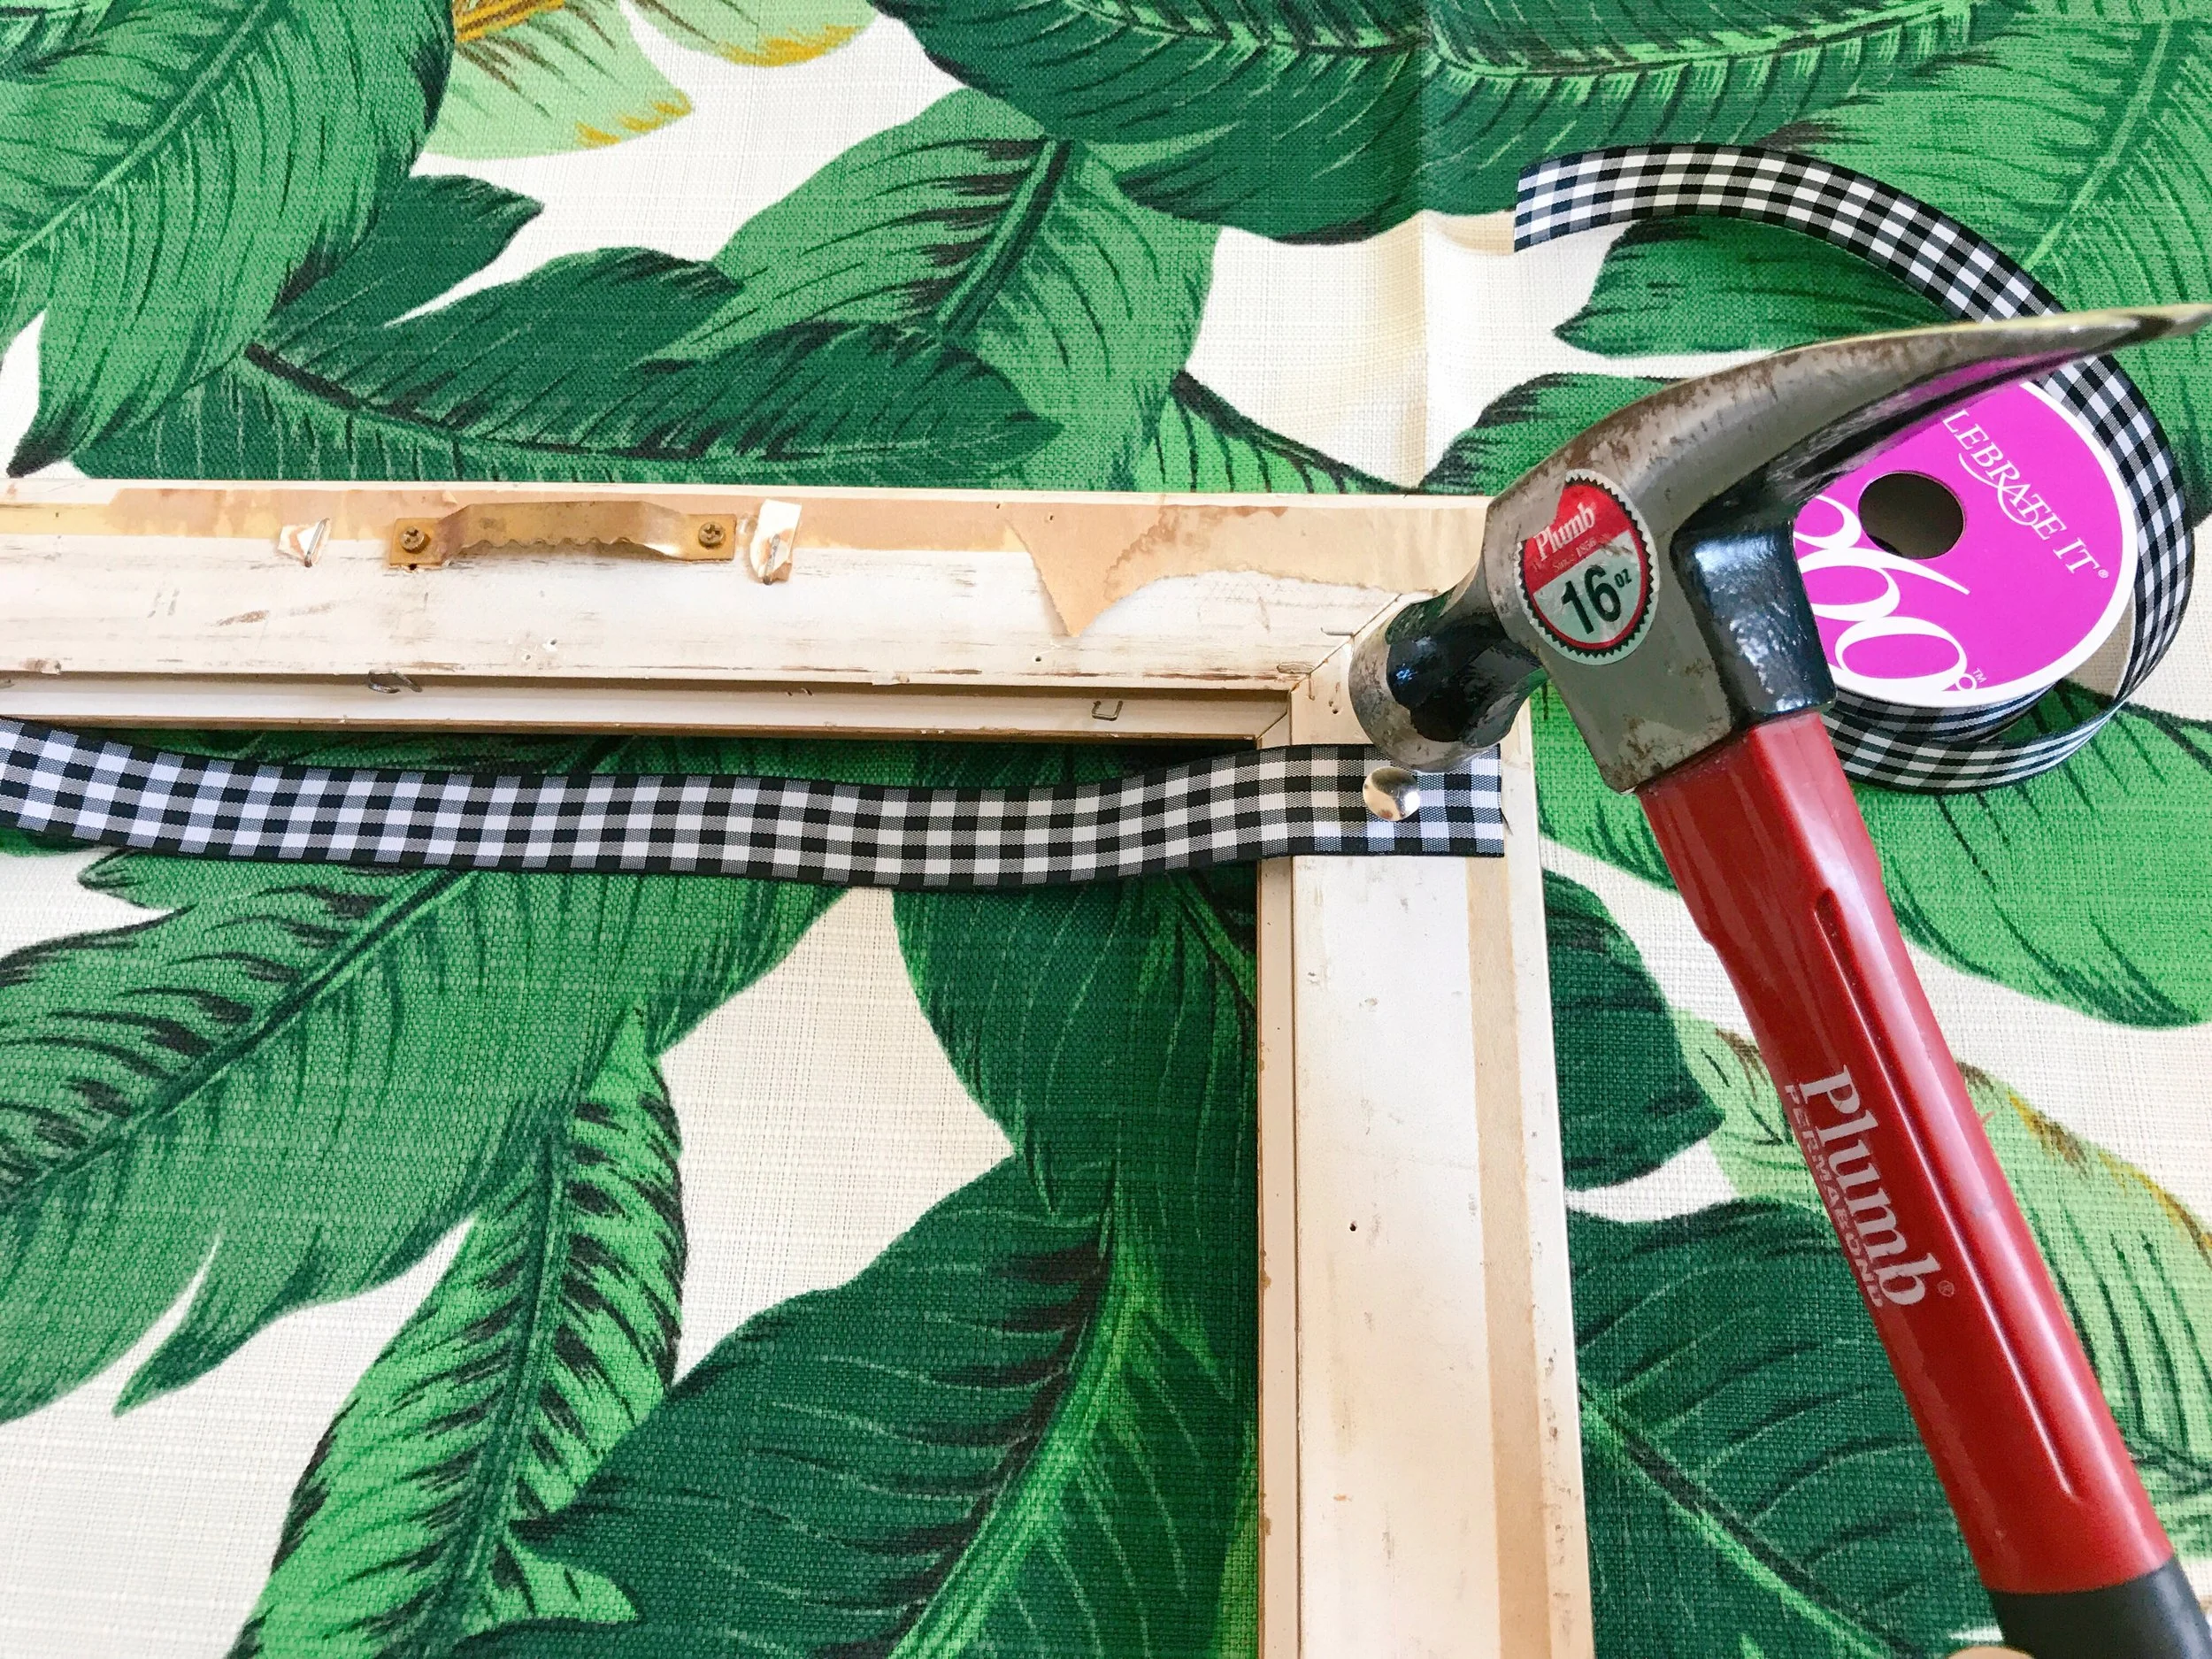
Secure the ends of the ribbon in place by hammering a taxk through the ribbon and into the frame on both ends.
STEP 3
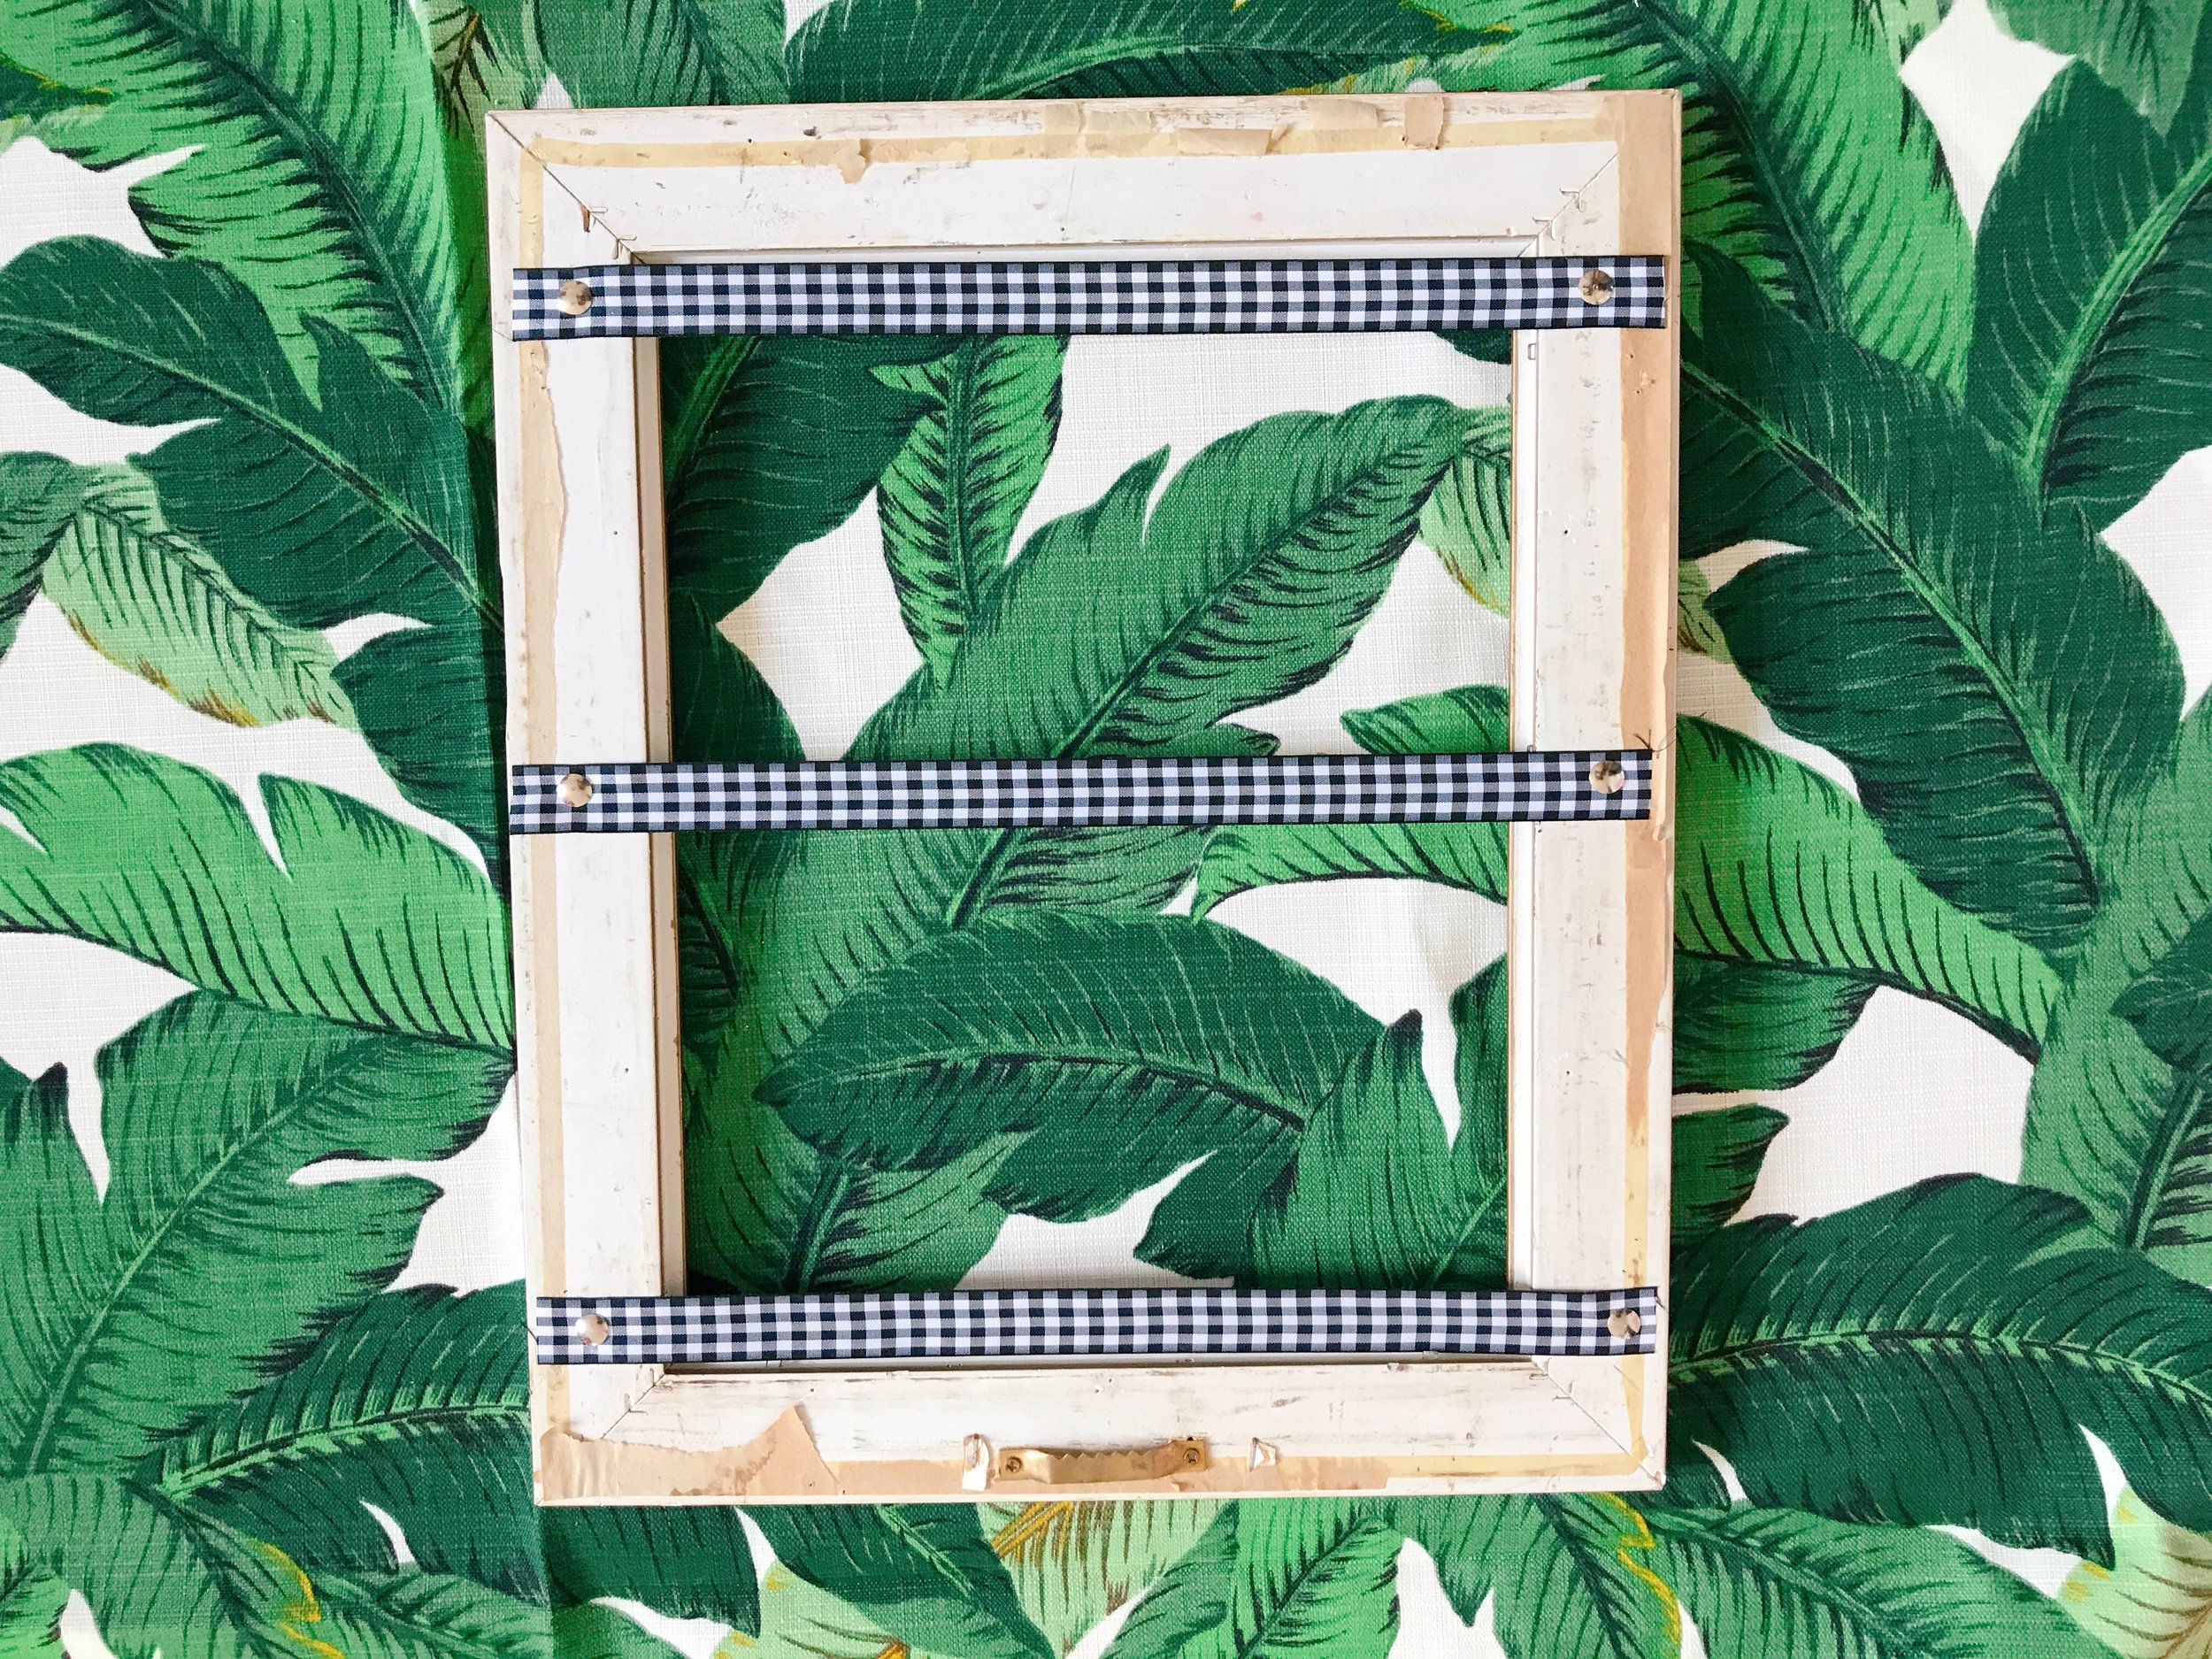
Repeat with as many lengths of ribbon that will fit your frame being mindful to evenly separate the ribbon. I kept mine simple and added 3 rows but really only needed 2. I removed that last row but didn’t get a chance to re-take pictures so just imagine the frame without the last row. The space between each ribbon row should be the approximate height of your sunglasses to allow them to hang freely.
STEP 4

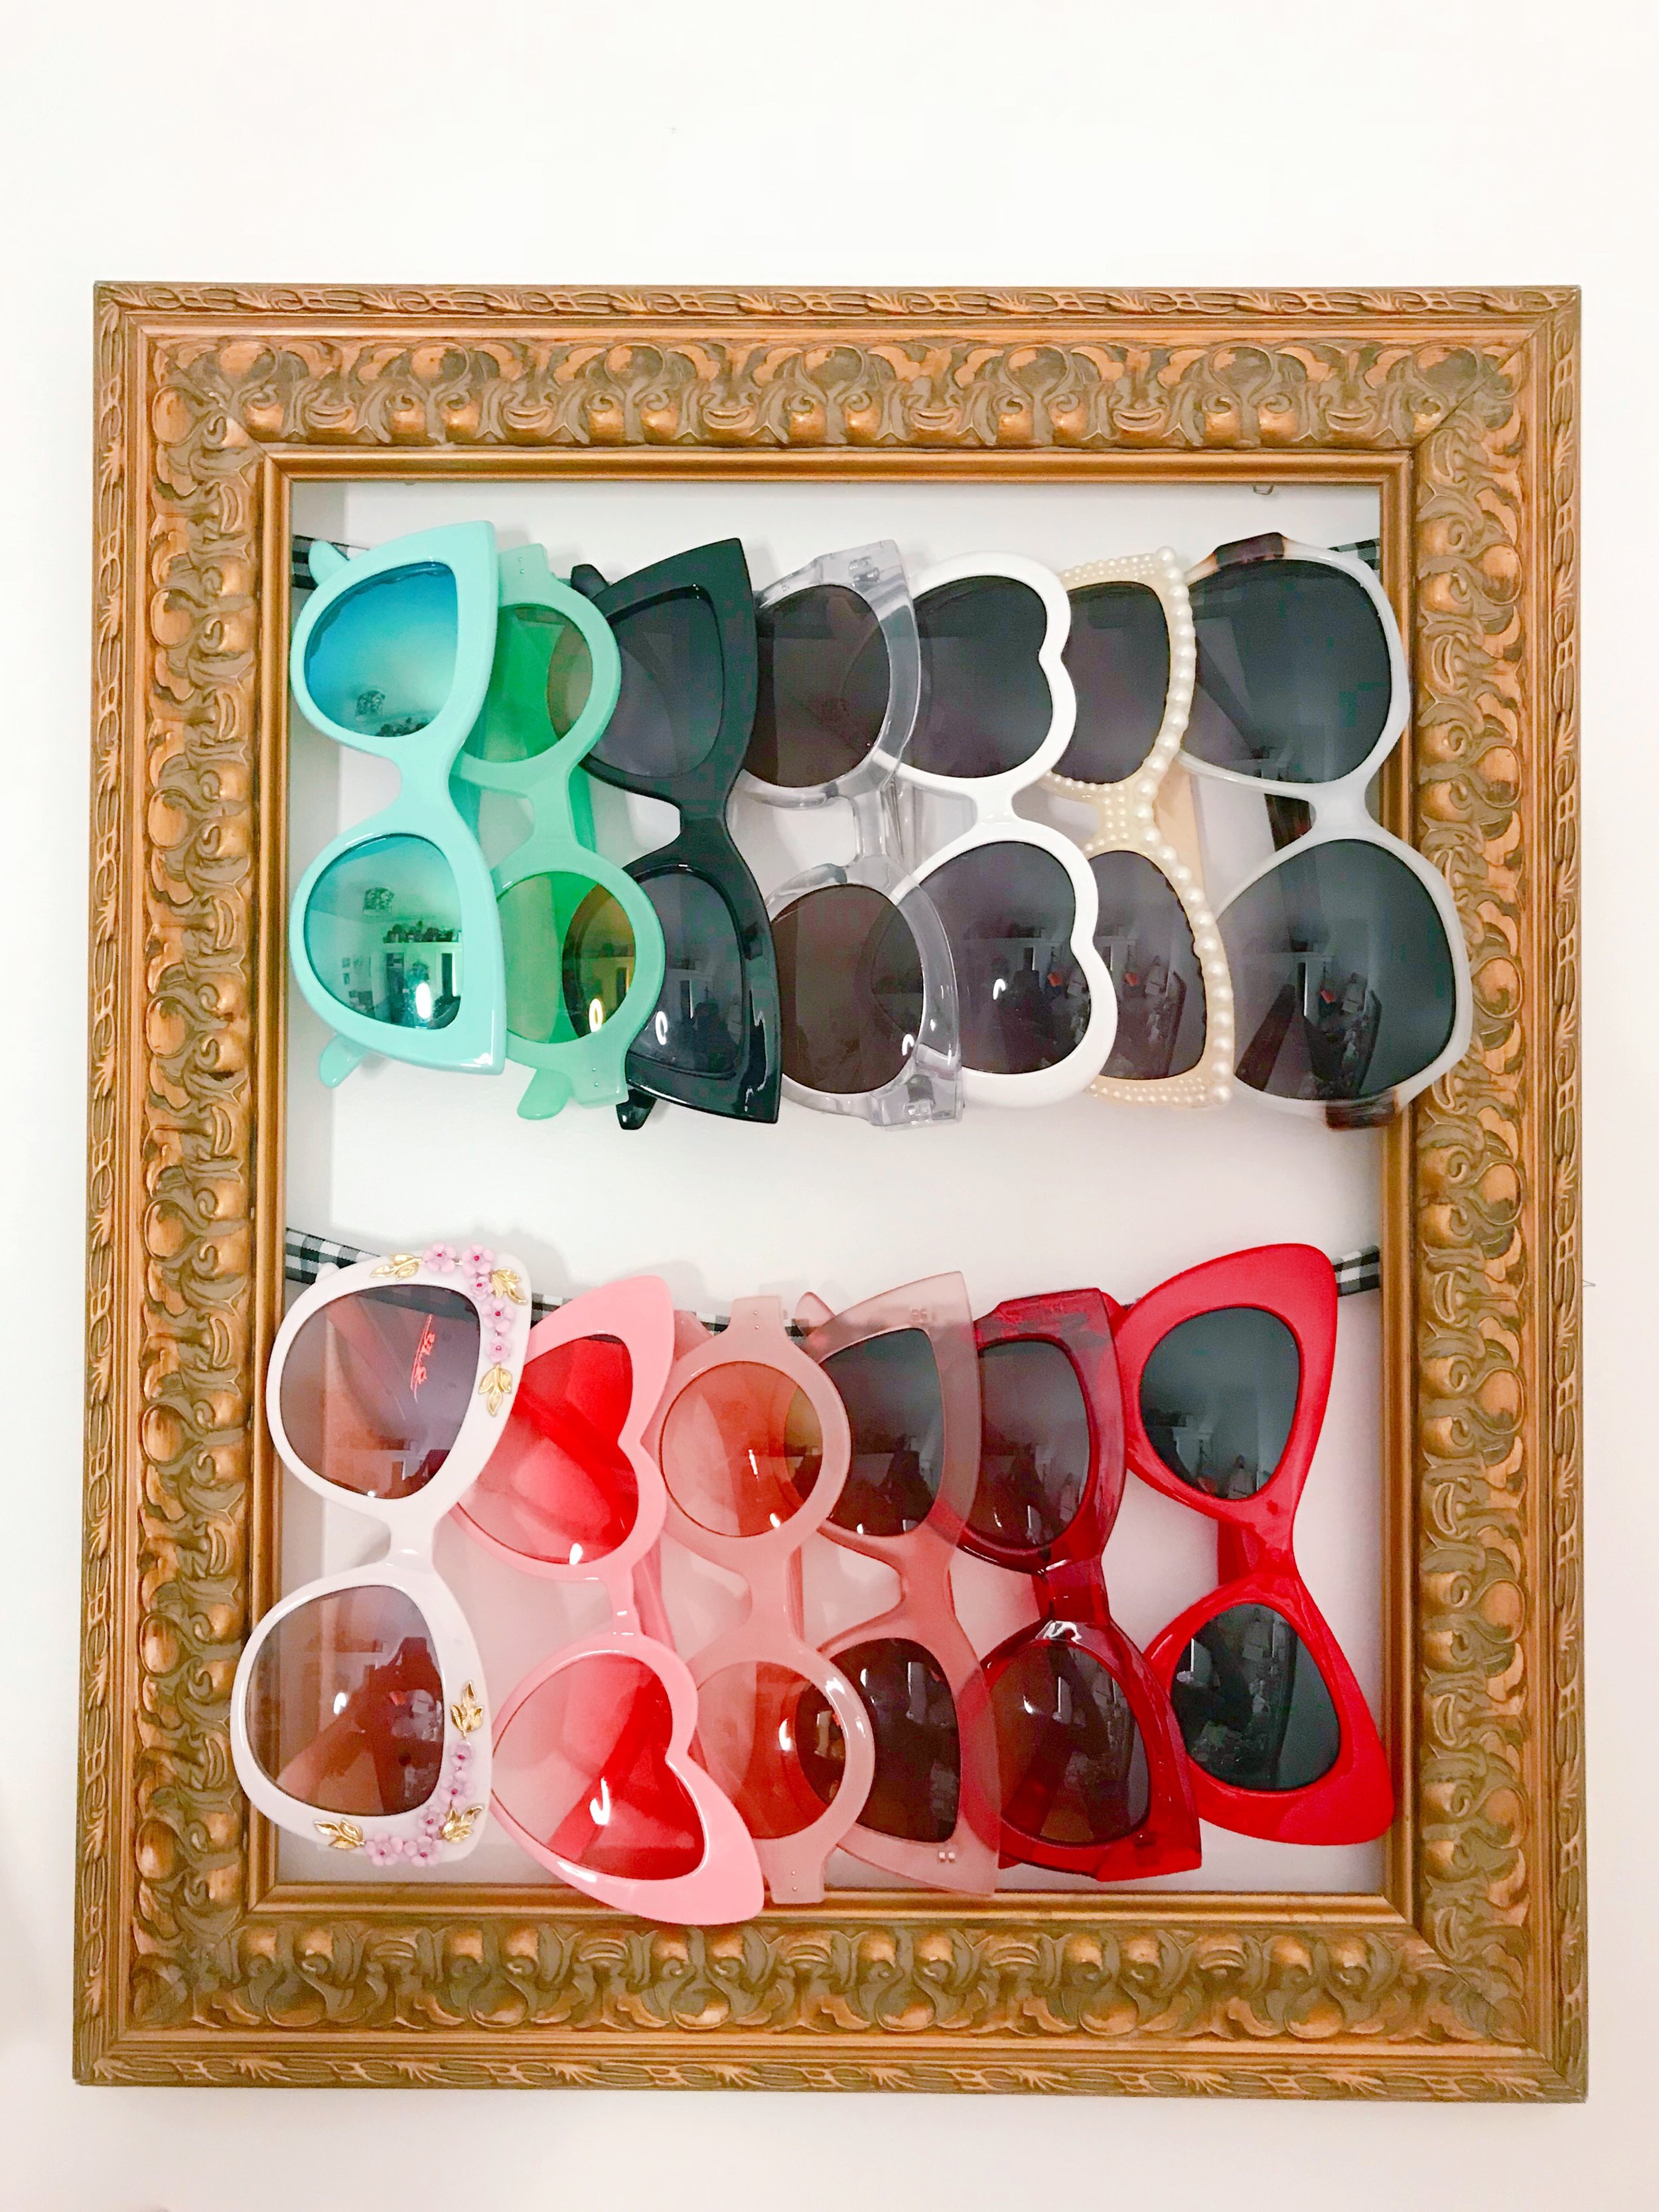
Flip over your frame, hang on the wall and add your sunnies!